


Editing a Catalog
After a catalog is created, you can always edit the catalog and publish it with real-time changes. You can:
- You can choose or switch between PIM products and Certified PIM products
- Add product groups
- Remove existing product groups
- Add or remove attributes in Product Listing Page
- Add or remove attributes in Product Display Page
- Add or remove filters
Here’s how to edit a catalog:
- On the MANAGE tab, click “Catalogs.”
- If you are looking for a specific catalog, search by catalog name in the search box. Click the catalog you want to edit by clicking the
 icon next to it.
Switch from PIM products to Certified PIM Products and Select the Product group from the choosen option
To the left corner of the screen you can see Products under which there is an dropdown where you can switch from PIM Products to Certified PIM Products
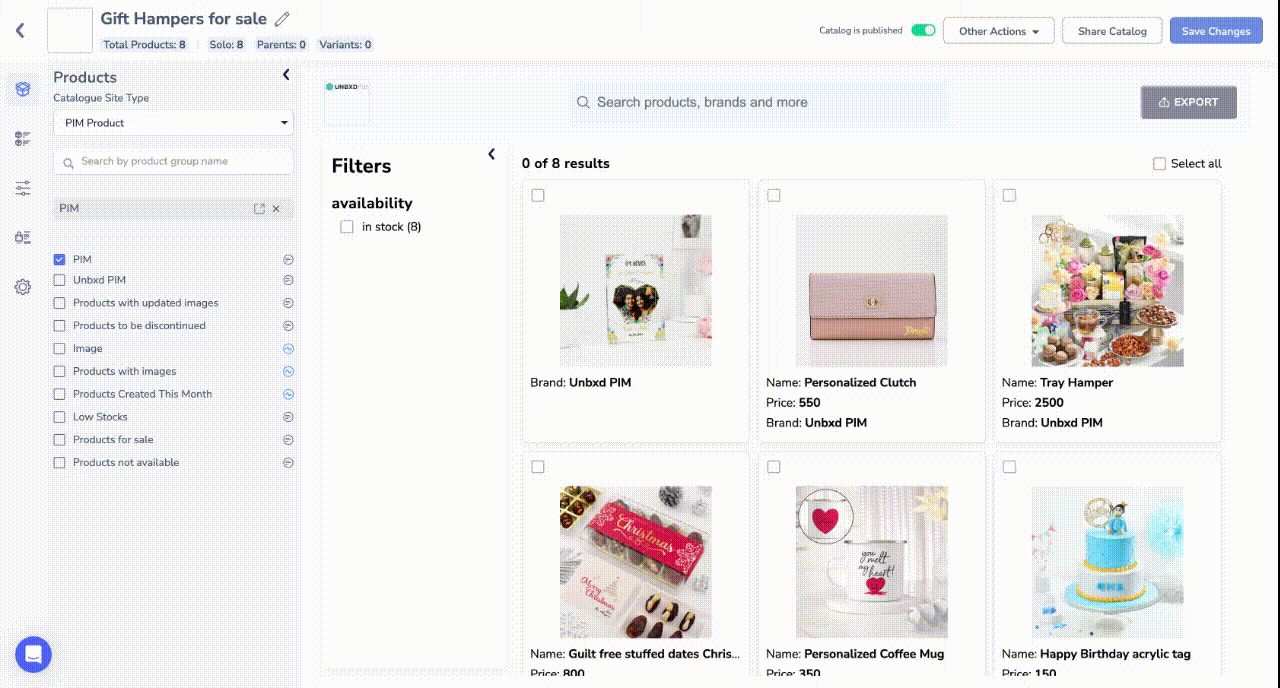
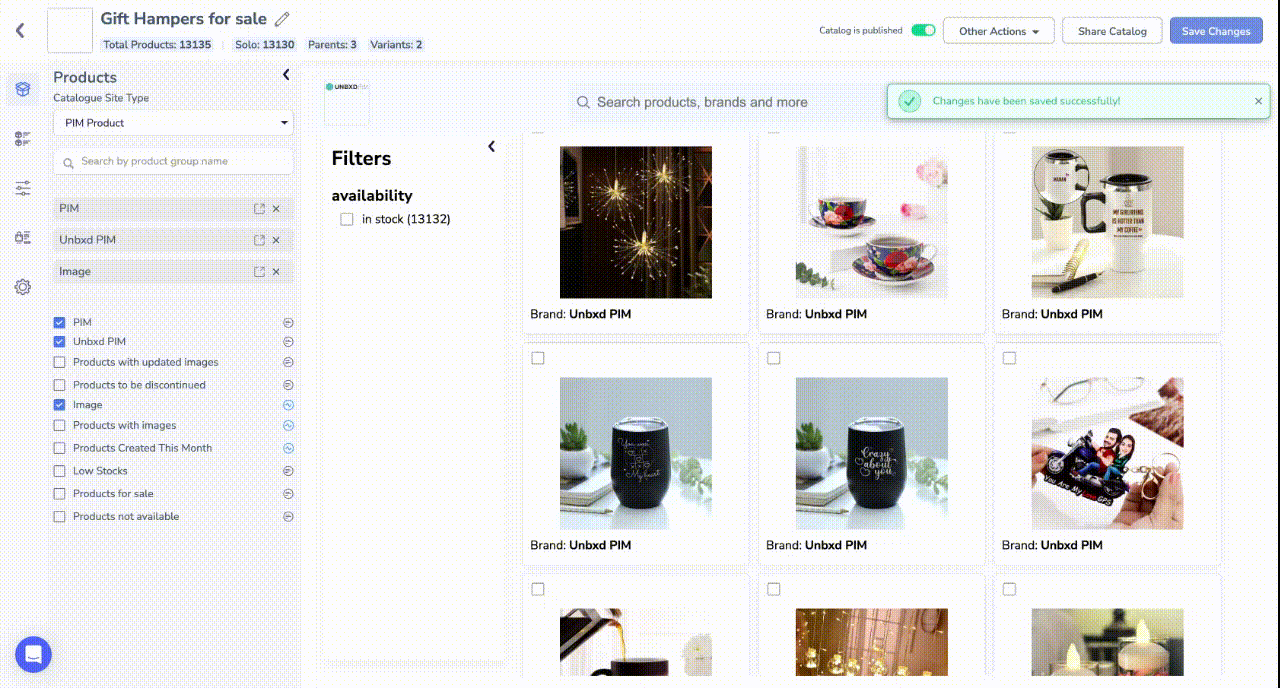
Add product groups to your catalog:
- On the left-hand side, you’ll find the product groups categorized into static and dynamic options. Simply tick the checkboxes next to the product groups you wish to include. Alternatively, utilize the search bar to quickly locate the desired product group. Do not forget to click on save changes which appears to the top right corner.
Remove Product Groups from your catalog:
Add or Remove attributes from Product Listing Page(You can have 2 fallback values for each property i.e if 1 st property does not has any value the second one choosen will be considered else the third)
Product Listing Page can have 5 attributes:
Click on Product Listing Page option (which is 2 nd option in the column to the left corner of the screen):
From the dropdown select the property that you want to add in Product Listing Page as the priority to be considered or set the fallback values (changes will be saved automatically there is need of clicking on save).
Add or remove Attributes from Product Display Page
Click on Product Display Page (The 4 th option in the column which is to the left corner of the screen)
From the dropdown select attributes to be considered (2 fallback values)
Select 5 attributes to be appearing Above the fold and countless feature below the fold (Switch the tab from above the fold to below the fold appearing under PDP Template)
Note: You can rearrange the attribute order for the below-the-fold section by dragging and dropping the attributes into your desired order.
You can Remove or Add attributes to be displayed as facets(Filters) in Product listing Page
Click on the Facets option(The 3 rd option in the column which is to the left corner of the screen)
From the dropdown check the checkbox to add the the property as facet or uncheck the checkbox to remove the property.
To change the logo ,Organization name , Website URL or any social website URL
Click on setting(The 5 the or the last option in the column to the left corner of the screen)
Make the necessary changes and click on save changes.