Structured information to guide you through Unbxd PIM with minimal assistance
  1. Introduction
  2. Access Unbxd PIM
  3. Explore Unbxd PIM
  4. Features of Overview page
  5. Profile
  6. Organization - Set up your PIM Team
    1. Invite a New Member
    2. Update Member Information
    3. View a Member Information
    4. Delete a Member
    5. Create a New Role
    6. Set Property Permissions for a Role
    7. Set System Permissions for a Role
    8. Change Assigned Members of a Role
    9. Change Property Permissions for a Role
    10. Change System Permissions for a Role
    11. Change the Role Name
    12. View a Role Information
    13. Delete a Role
    14. Edit your Organization Profile Information
  7. Imports - Onboard & Schedule your Product Content
    1. Import File Best Practices
    2. Tips for doing an effective import
    3. Perform First-time Product Import
    4. Import data via SFTP
    5. View an Existing Import Information
    6. Schedule an Import
    7. Edit a Scheduled Import
    8. View a Scheduled Import Information
    9. Stop a Scheduled Import
    10. Delete a Scheduled Import
    11. Import Templates
    12. Deleting Import Template
    13. Trouble Shooting Import Errors
  8. Products - Build & Enrich Product Content
    1. Advanced Search and Filtering and saving filters by creating static product group
    2. Customize your Product Listing View
    3. Add a Solo Product
    4. Add a Solo Product via AI
      1. AI Content Score
    5. Add a Variant Product
    6. Edit a Solo Product
    7. Edit a Parent Product
    8. Edit Products from Product Listing Page
    9. Edit a Variant Product from its Parent Product
    10. Cloning a Product
    11. Product Listing Page [AG Grid Feature / Excel Mode]
    12. View Activity Log Details for a Product
    13. View Product Details
    14. View Task Information for a Product
    15. Delete a Product
    16. Product Groups
      1. Create a Static Product Group
      2. Edit a Static Product Group
      3. View a Static Product Group Information
      4. Delete a Static Product Group
      5. Create a Dynamic Product Group
      6. Edit a Dynamic Product Group
      7. View a Dynamic Product Group Information
      8. Delete a Dynamic Product Group
    17. Bulk Actions for Products & Product Groups
      1. Add Products to a Static Product Group
      2. Bulk Edit Products
      3. Bulk Edit Category
      4. Assign Task
      5. Certify Products
      6. Delete Multiple Products
      7. Certify Product Groups
      8. Run Readiness Report
      9. Delete Product Groups
      10. Edit Multiple Products from a Static Product Group
      11. Remove Products from a Static Product Group
      12. Delete Products from a Dynamic Product Group
      13. Delete Products from a Static Product Group
      14. Edit Multiple Products from a Dynamic Product Group
      15. Enrich Products or Product group data
  9. Certified Products & Certified Product Group
    1. Customize your Products Listing View
    2. Export Certified Products
    3. Export Products with Readiness Check & Assign Task
    4. View Activity Log Details for a Product
    5. Delete Products from Certified Product Group
    6. Export Certified Product Groups
    7. Export Certified Product Groups with Readiness Check & Assign Task
    8. Add Channel Readiness for a Certified Product Group
    9. Edit a Certified Product Group
    10. View Certified Products
    11. Delete a Product Group
  10. Scripts - Transform your Product Data
    1. Using the Transformation Script Editor
    2. Post Transformation
    3. List of Transformation Scripts
  11. Properties - Manage your Product Characteristics
    1. Property Data Types
    2. Create a New Property
    3. Change the Property Name and Assigned Property Group
    4. Change Role Permissions for a Property
    5. Make a Property Searchable
    6. View a Property Information
    7. Download all Properties
    8. Delete a Property
    9. Property Groups
      1. Create a New Property Group
      2. Change Property Group Name and Associated Properties
      3. View a Property Group Information
      4. Delete a Property Group
  12. Categories - Manage your Product Classifications
    1. Create a New Category & Subcategory
    2. Change Category Name & Associated Properties
    3. View Category & Subcategory Information
    4. Delete a Category or Subcategory
    5. Bulk Remove Categories
    6. Upload Category Property Association
    7. Download Category Property Association
    8. Download Category Property Template
  13. Tasks - First Step Towards Building Processes
    1. Create a New Task
    2. Edit an Existing Task
    3. View Task Details and Task Status Details
    4. Task Templates
      1. Create a New Task Template
      2. Edit a Task Template
      3. View Task Template Details
      4. Create a Task using a Task Template
      5. Delete a Task Template
    5. Task Assignee
  14. Readiness Reports-Ensure product information completeness
    1. Creating Readiness Report
    2. Downloading Readiness Report
    3. Viewing Readiness Reports
    4. Assigning Task using Readiness Report
  15. Catalogs - Share real-time Product Content
    1. Create & Share a New Catalog
    2. Edit a Catalog
    3. Delete a Catalog
  16. Workflows - Automate PIM Processes
    1. Create a New Workflow
    2. Run a Workflow Manually
    3. Pause & Resume a Workflow
    4. Edit a Workflow
    5. View Workflow Details
    6. View Activity Log Details for a Workflow
    7. Delete a Workflow
    8. Bulk Actions
  17. Digital Asset Management - Manage your Digital Files
    1. Add a New Asset
    2. Associate Assets with Products
    3. Perform Asset Transformations
    4. Deassociate Asset from Products
    5. Download Assets
    6. Delete an Asset
  18. Exports
    1. View Exports
    2. Download an Exported File
    3. Send an Email with the Exported File
    4. Schedule an Export
    5. Edit a Scheduled Export
    6. View Scheduled Export Details
    7. Stop a Scheduled Export
    8. Delete a Scheduled Export
    9. Export Parent Products
    10. Export Products via SFTP
    11. Standard Templates and Custom Templates
      1. Edit a Standard Template
      2. View Standard Template Details
      3. Create a Custom Template
      4. Bulk add properties while creating custom export template
      5. Edit a Custom Template
      6. View Custom Template Details
      7. Delete a Custom Details
  19. Deleting Export Template
  20. Volusion
  21. AI Enrichment Apps
    1. Mandatory Properties and Prompt Values for each AI App
    2. Creation of templates for AI enrichment apps
      1. Amazon Description Generator
      2. Amazon Title Generator
      3. Amazon Ads Headline Generator
      4. Product Name Generator
      5. Google Ads Generator
      6. Google Ad Description Generator
      7. Google Title Generator
      8. Youtube Hooks Generator
      9. Youtube Outline Generator
      10. Youtube Description Generator
      11. Youtube Intros Generator
      12. Youtube Titles Generator
      13. Trending Instagram Hashtag Generator
  22. Bulk Transform and Enrichment
  23. Custom Template Uploader
  24. Custom Template Downloader
  25. Headerless File Format
  26. Bulk Asset Upload and Download
  27. Image Keyword Extraction
  28. Dropbox
  29. Zapier(Gmail)
  30. Zapier(Google Sheet)
  31. Find Duplicates and Related Products
  32. Vend
  33. Volusion
  34. Google URL data Fetcher
  35. UPC Generator
  36. Image Convertor to Webp
  37. Translate Catalog
  38. Extract Common Variant Properties
  39. Image Keyword Extraction
  40. AI Image to Product Builder
  41. DAM Remove BG
  42. Guide for Obtaining AWS S3 Bucket Credentials & Configuring Public Access Permissions
  43. SFTP Watcher App
  44. Generate Partial Search
  45. Channel Integration
    1. Channel Integrations -
      1. Installing BigCommerce store via Unbxd PIM
      2. Importing data into Unbxd PIM from BigCommerce
      3. Mandatory Properties to export products to BigCommerce
      4. Exporting data from Unbxd PIM to BigCommerce
      5. Automating import and export using Templates and Workflows
    2. Channel Intergation-
      1. Installing Shopify via Unbxd PIM
      2. Shopify Store Fetcher
      3. Mandatory Property Mappings for Shopify
      4. Properties in Shopify and Shopify Graph QL and their importance
      5. Importing the data into Unbxd PIM from Shopify
      6. Exporting data from Unbxd PIM to Shopify
      7. Automating import and export using Scheduled Imports/Exports and Workflows
    3. Shopify Graph QL
    4. Channel Integrations -
      1. Installing Unbxd PIM via Brightpearl
      2. Importing the data into Unbxd PIM from Brightpearl
      3. Exporting data from Unbxd PIM to Brightpearl
      4. Automating import and export using Templates and Workflows
    5. Channel Integration -
      1. Installing Magento using Username and Password
      2. Magento Token Based Installtion
      3. Mandatory Properties for Magento
      4. Mageworx
    6. Channel Intergation-
      1. Installing Etsy via Unbxd PIM
      2. Importing the data into Unbxd PIM from Etsy
      3. Exporting data from Unbxd PIM to Etsy
      4. Automating import and export using Scheduled Imports/Exports and Workflows
    7. Channel Integration -
      1. Installing Walmart via Unbxd PIM
    8. Channel Integration-
      1. Installing Unbxd PIM via Amazon Seller central
      2. Installing Amazon Seller Central via Unbxd PIM
      3. Importing data into Unbxd PIM from Amazon
      4. Exporting data from Unbxd PIM to Amazon
      5. Automating import and export using Templates and Workflows
      6. Download category template from amazon seller central
    9. Ebay Installation-
    10. Steps to get template file for Ebay-
    11. Channel Integration-
      1. Google Shopping App Installation
      2. Mandatory Properties for Google Shopping
    12. Woocommerce Installation-

Custom Template Uploader

The Custom Template Uploader is a user-friendly application developed to simplify selecting and importing files from a collection of multiple files stored within a single file.

It empowers users to choose a desired header from a sheet containing multiple headers effortlessly. 

It allows them to specify which header should be utilised as the primary one during the import process. 

This application was developed to address user’s difficulties when modifying files. 


Note:When Uploading the file URL the file name should not have spaces in it but it can have hyphen(-) and underscore(_).

The export name should not contain “/”

Minimize the use of special characters in the file name.


Problem Statement: When attempting to import a single file from a collection of multiple files, particularly in the presence of files with multiple headers, users often encounter significant challenges and time-consuming hurdles

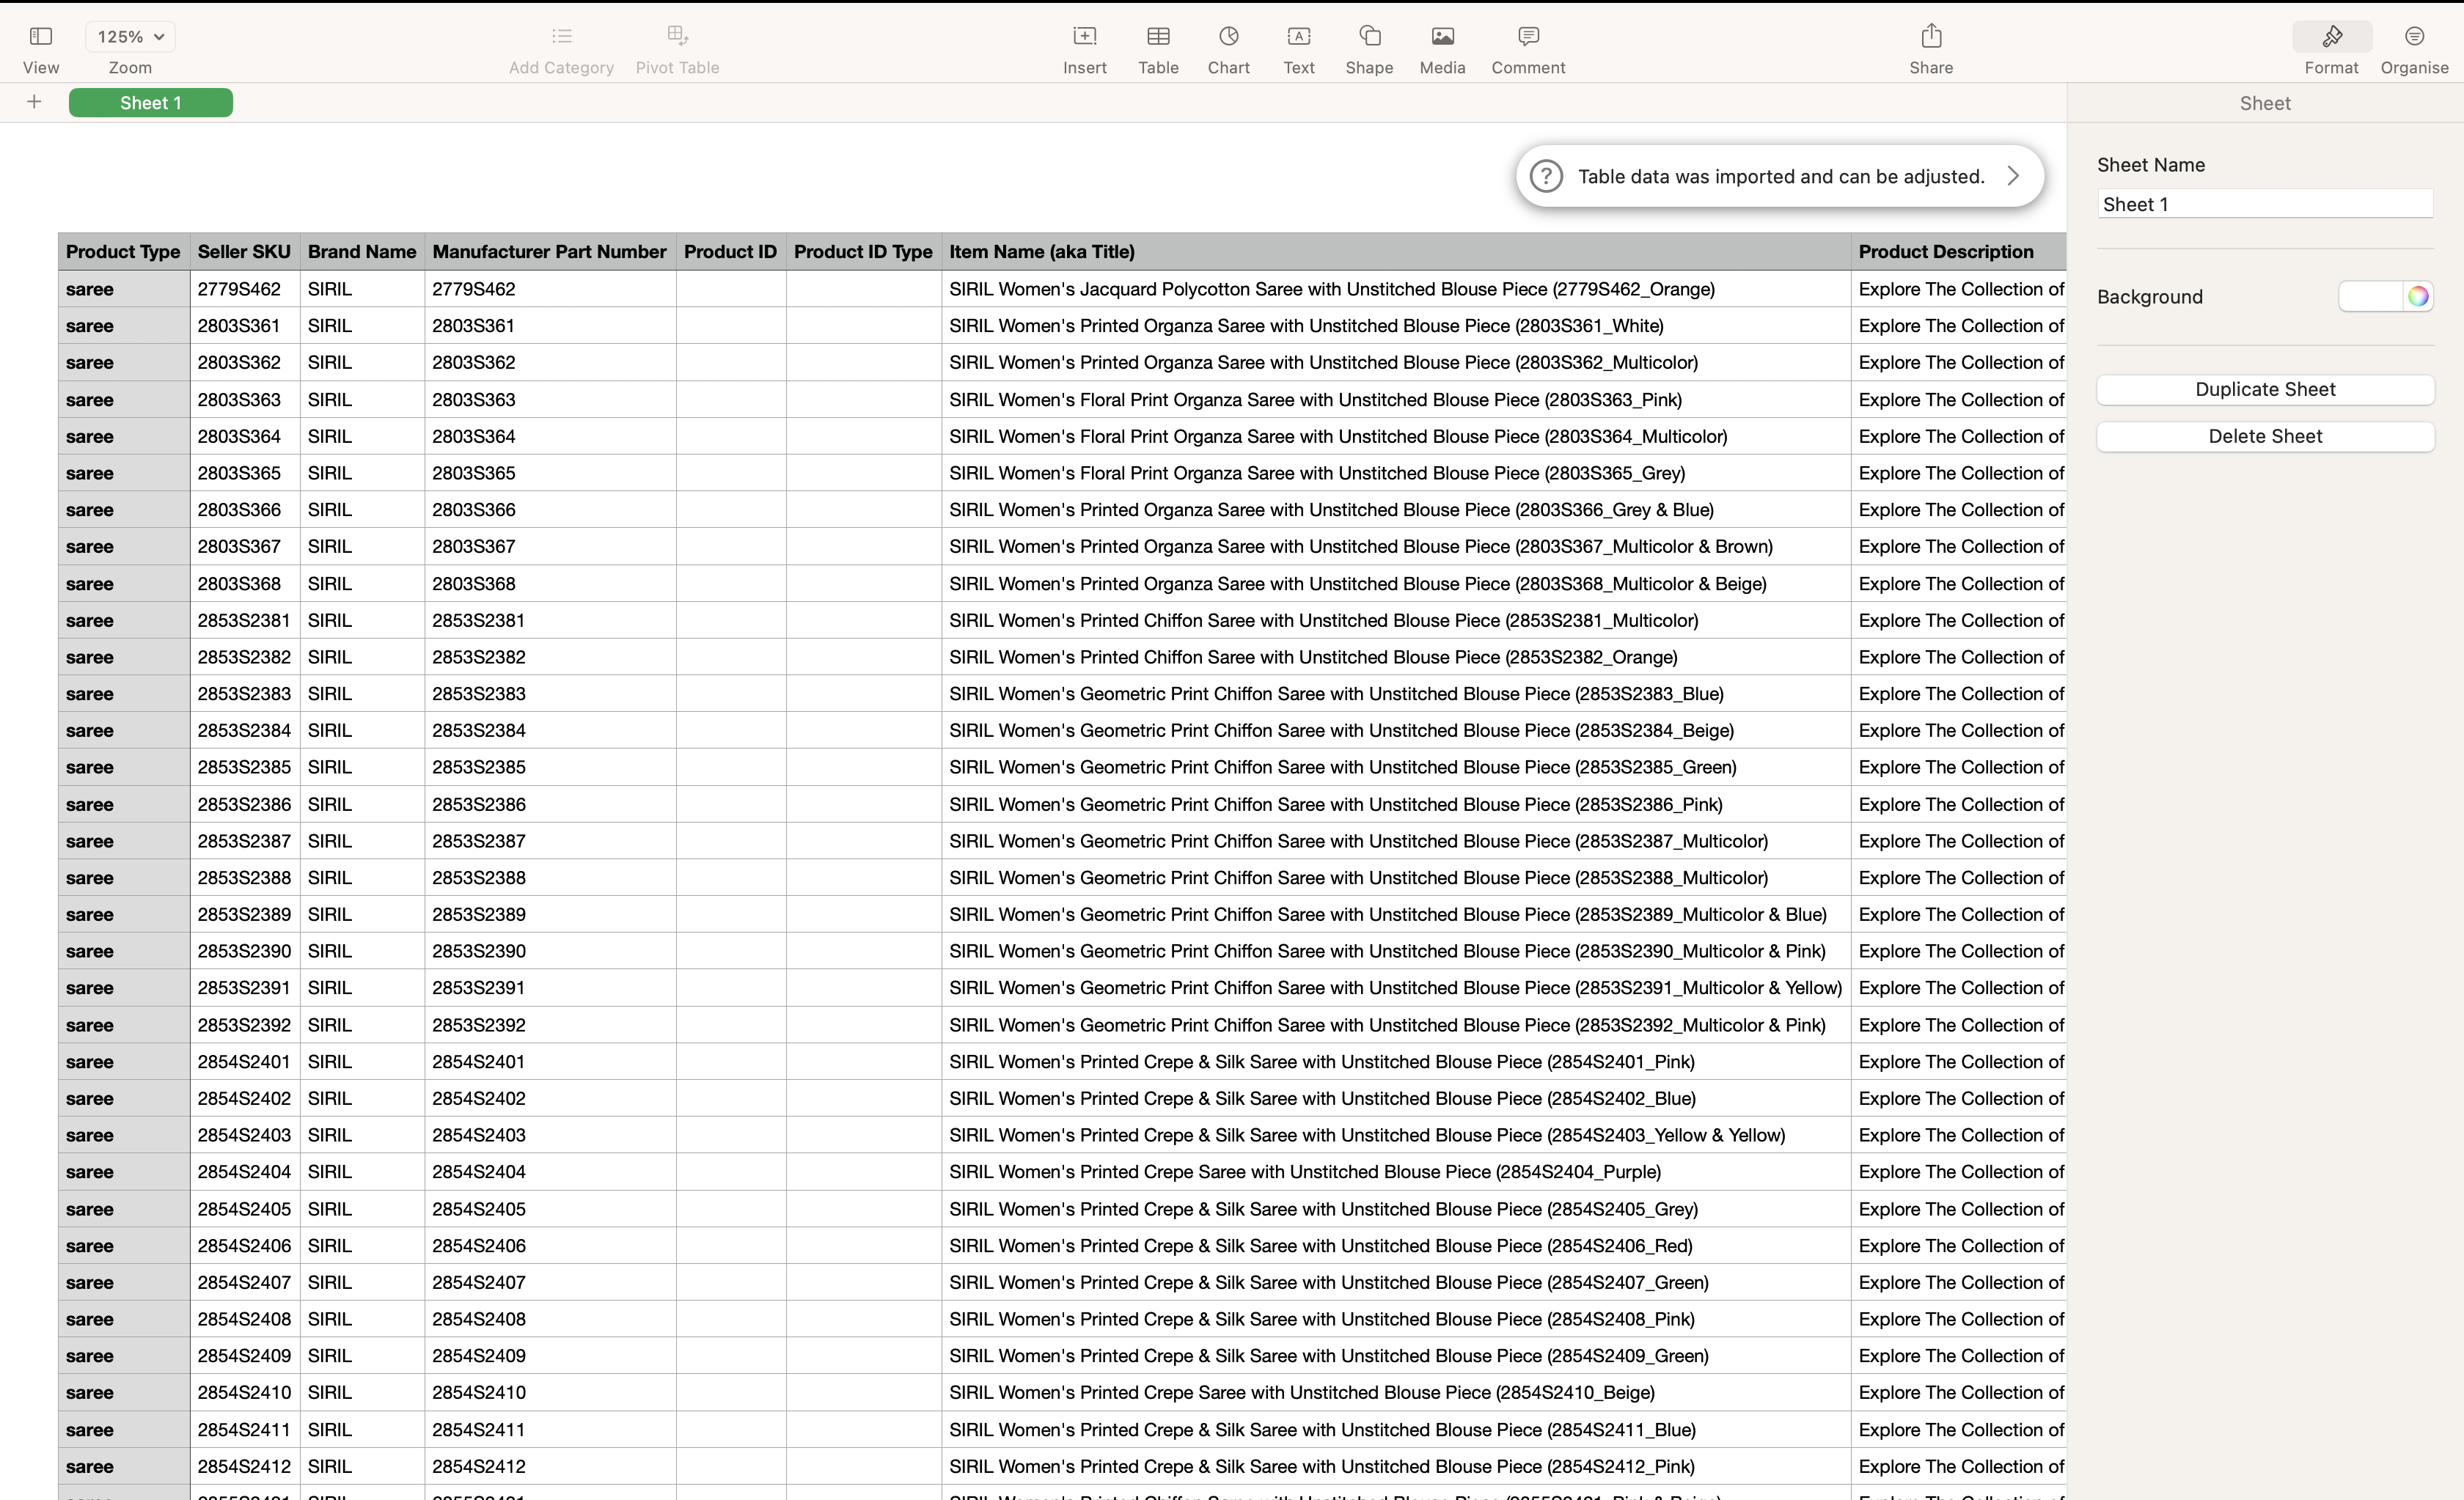
In the given scenario, you are tasked with importing a specific file named “Template” from the multiple files displayed in the image. The selected file “Template” contains three headers (first 3 rows). 

However, for the import process, you only wish to consider the header located at the second position or second row.

Custom Template Uploader serves as a valuable solution in this situation.

There are three key components to consider when using the Custom Template Uploader:

  1. Sheet Number or Name: Specify the sheet number or name from which you want to import the file. This allows you to select the specific sheet within a workbook that contains the desired data.
  2. Header Row Position: Determine the row position of the header that you want to consider during the import process. By specifying this, you can choose the appropriate row that contains the column names or field labels for your data.
  3. Fixed Rows in that File: Enter your worksheet’s total number of rows. This parameter helps identify the total number of rows that should be considered while importing the file, excluding any rows that may contain irrelevant or extraneous information.

To determine the Sheet Number or Name, Header row position, and Fixed rows in the file, it is crucial to review the file shared by the client carefully. This requires attentiveness to identify hidden headers and ensure accurate Sheet Number or name entry.

Note 1: Multiple file formats such as CSV, xlsx, and xlsm are accepted.

Note 2: In Case (*)  is present in the header, that will be replaced with null.

Install Custom Template Uploader:

  1. Navigate to the App Store
  2. Search and click on Custom Template Uploader
  3. Click on the install button

Import the file in PIM using Custom Template upload, adhere to the following step-by-step instructions:

  1. Navigate to Imports
  2. Click on the new import
  3. Search and click on Custom Template Uploader
  4. In the import details page, fill in the name for the import
  5. Under Channel Detail, Select the Unbxd PIM box, and checkmark add additional 
  6. Enter Sheet No Or Name, Header Row Position, and Fixed rows according to your sheet.
  7. Click on Save & Proceed.
  8. For Product ID, go through the file shared and check which is the unique field
  9. In Configure all fields page, map all the properties
  10. Click on Save and Import
  11. In Case you want to save the mappings for future use, Check mark the box and give a name for the Template. This Template can be Seen in the Import Templates list.
  12. Click on Save and Proceed to import


The final result looks like this:

Yes No
0 of 0 users found this section helpful
Suggest Edit