Structured information to guide you through Unbxd PIM with minimal assistance


Changing the Attribute Name and Assigned Attribute Group
You can either create a attribute or have the attributes listed in Unbxd PIM via imports. Once the attributes are in the PIM system, you can always change the attribute name or the assigned attribute group. The attributes that are not part of any product group are tagged as “Unassigned”.
Note: A single attribute can only be assigned to one attribute group.
For more information about grouping the attributes, see Attribute Groups.
Change the Attribute Name and Assigned Attribute Group
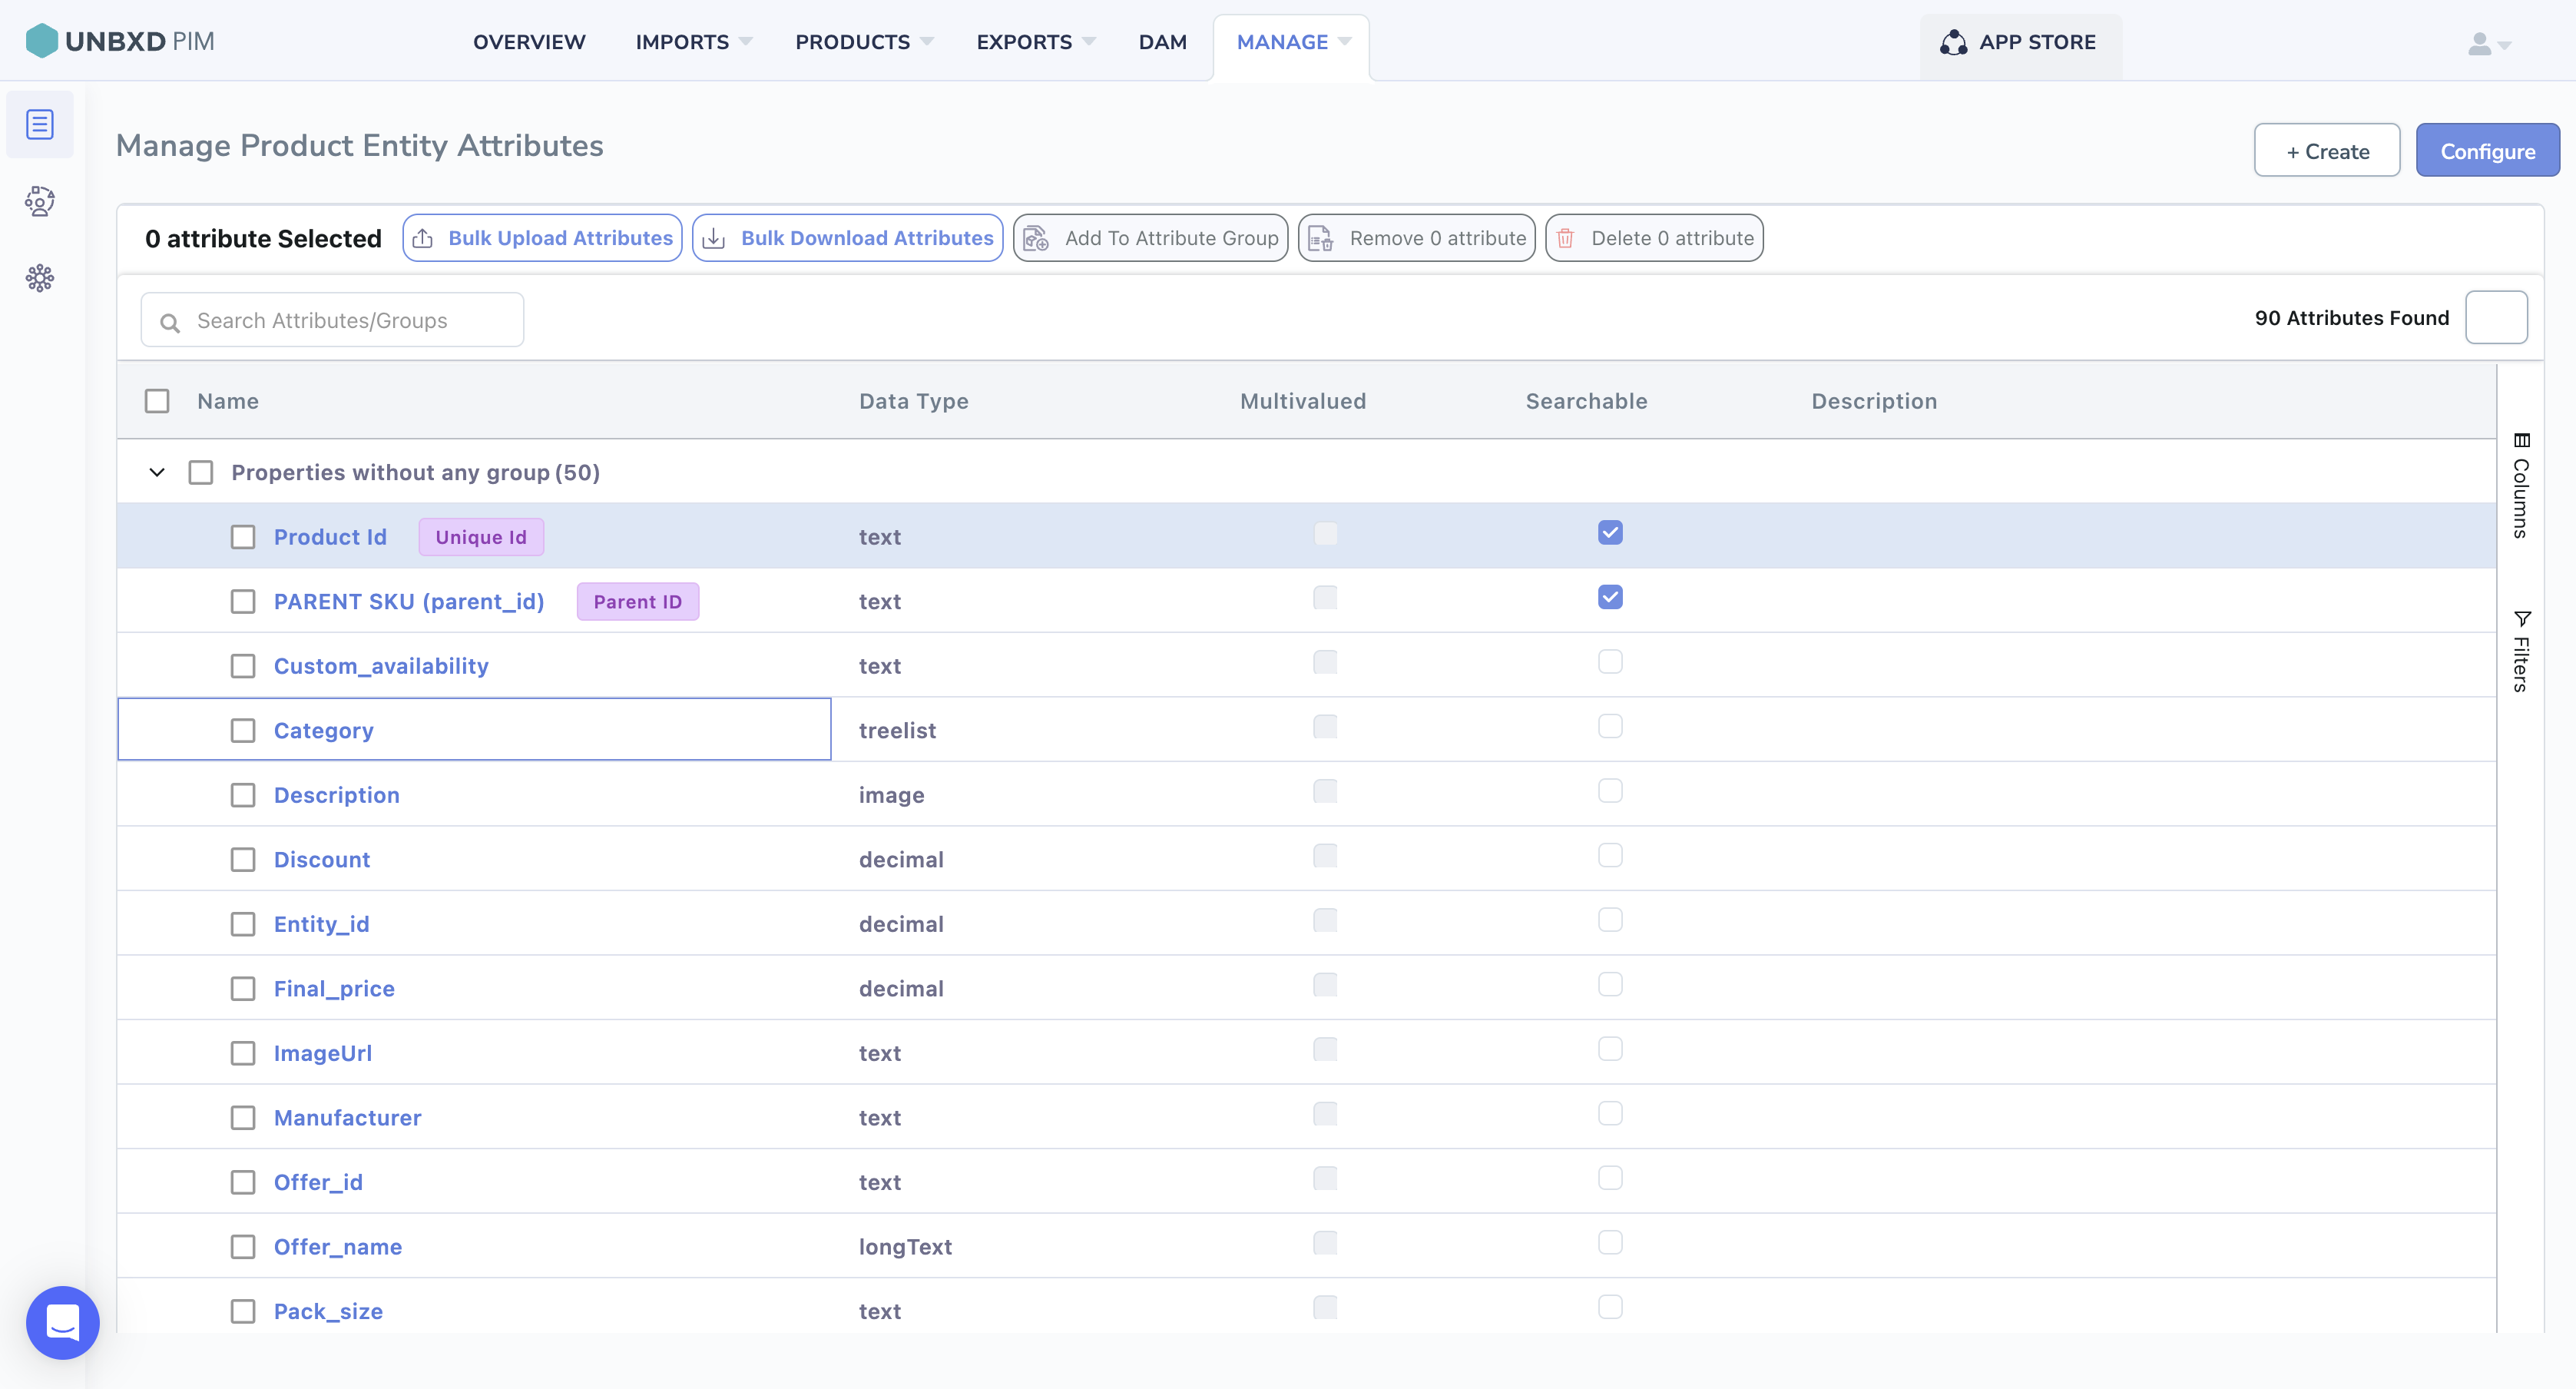
- Navigate to the Manage tab and click on Attributes. The Attributes Listing page will be displayed.

- If you are looking for a specific attribute, you can search by attribute name in the search box. Additionally, you can filter the results by a specific attribute group or data type using the filter option.
- Locate the attribute you want to edit and click on it.
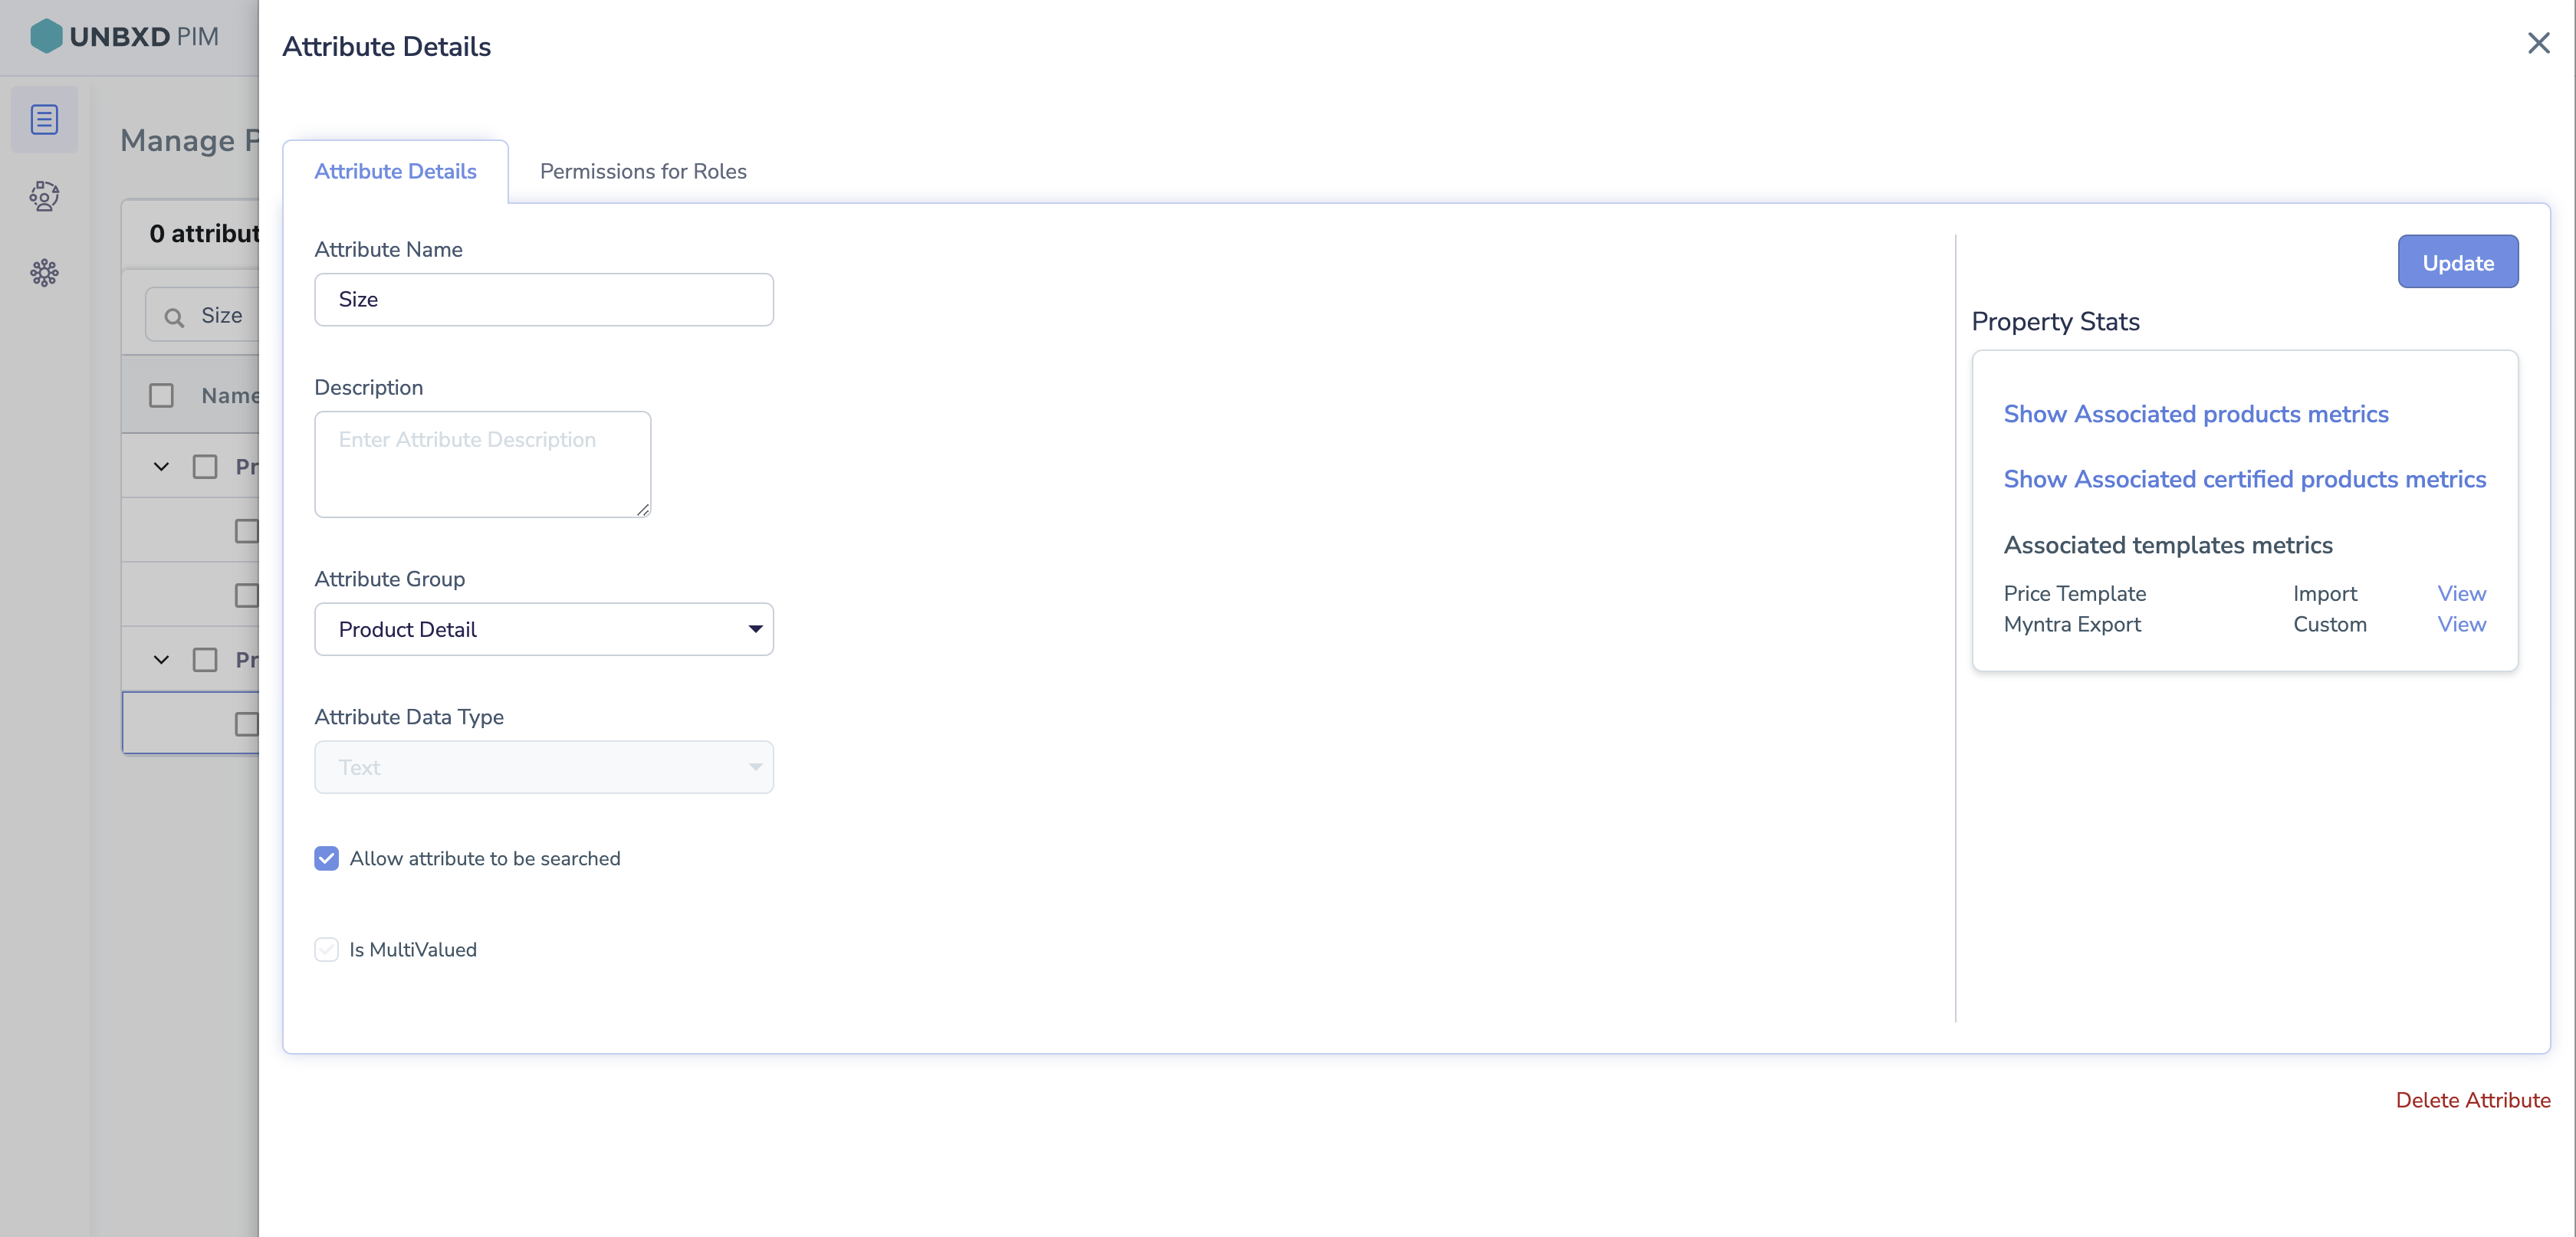
- Click on the a attribute details tab to access the attribute details.
- Make the necessary changes to the attribute name.
- In the Attribute Group list, select the desired attribute group to which you want to assign the attribute. Note that a attribute can only be assigned to a single attribute group.
- If you want the attribute value to be searchable on the Products Listing page, select the “Allow attribute to be searched” checkbox.
- After making the changes, click the Update button to save the updated attribute details.
0 of 0 users found this section helpful