Using Unbxd PIM via BigCommerce App Marketplace
1. Log on to your BigCommerce account.
2. Navigate to Apps -> My Apps.
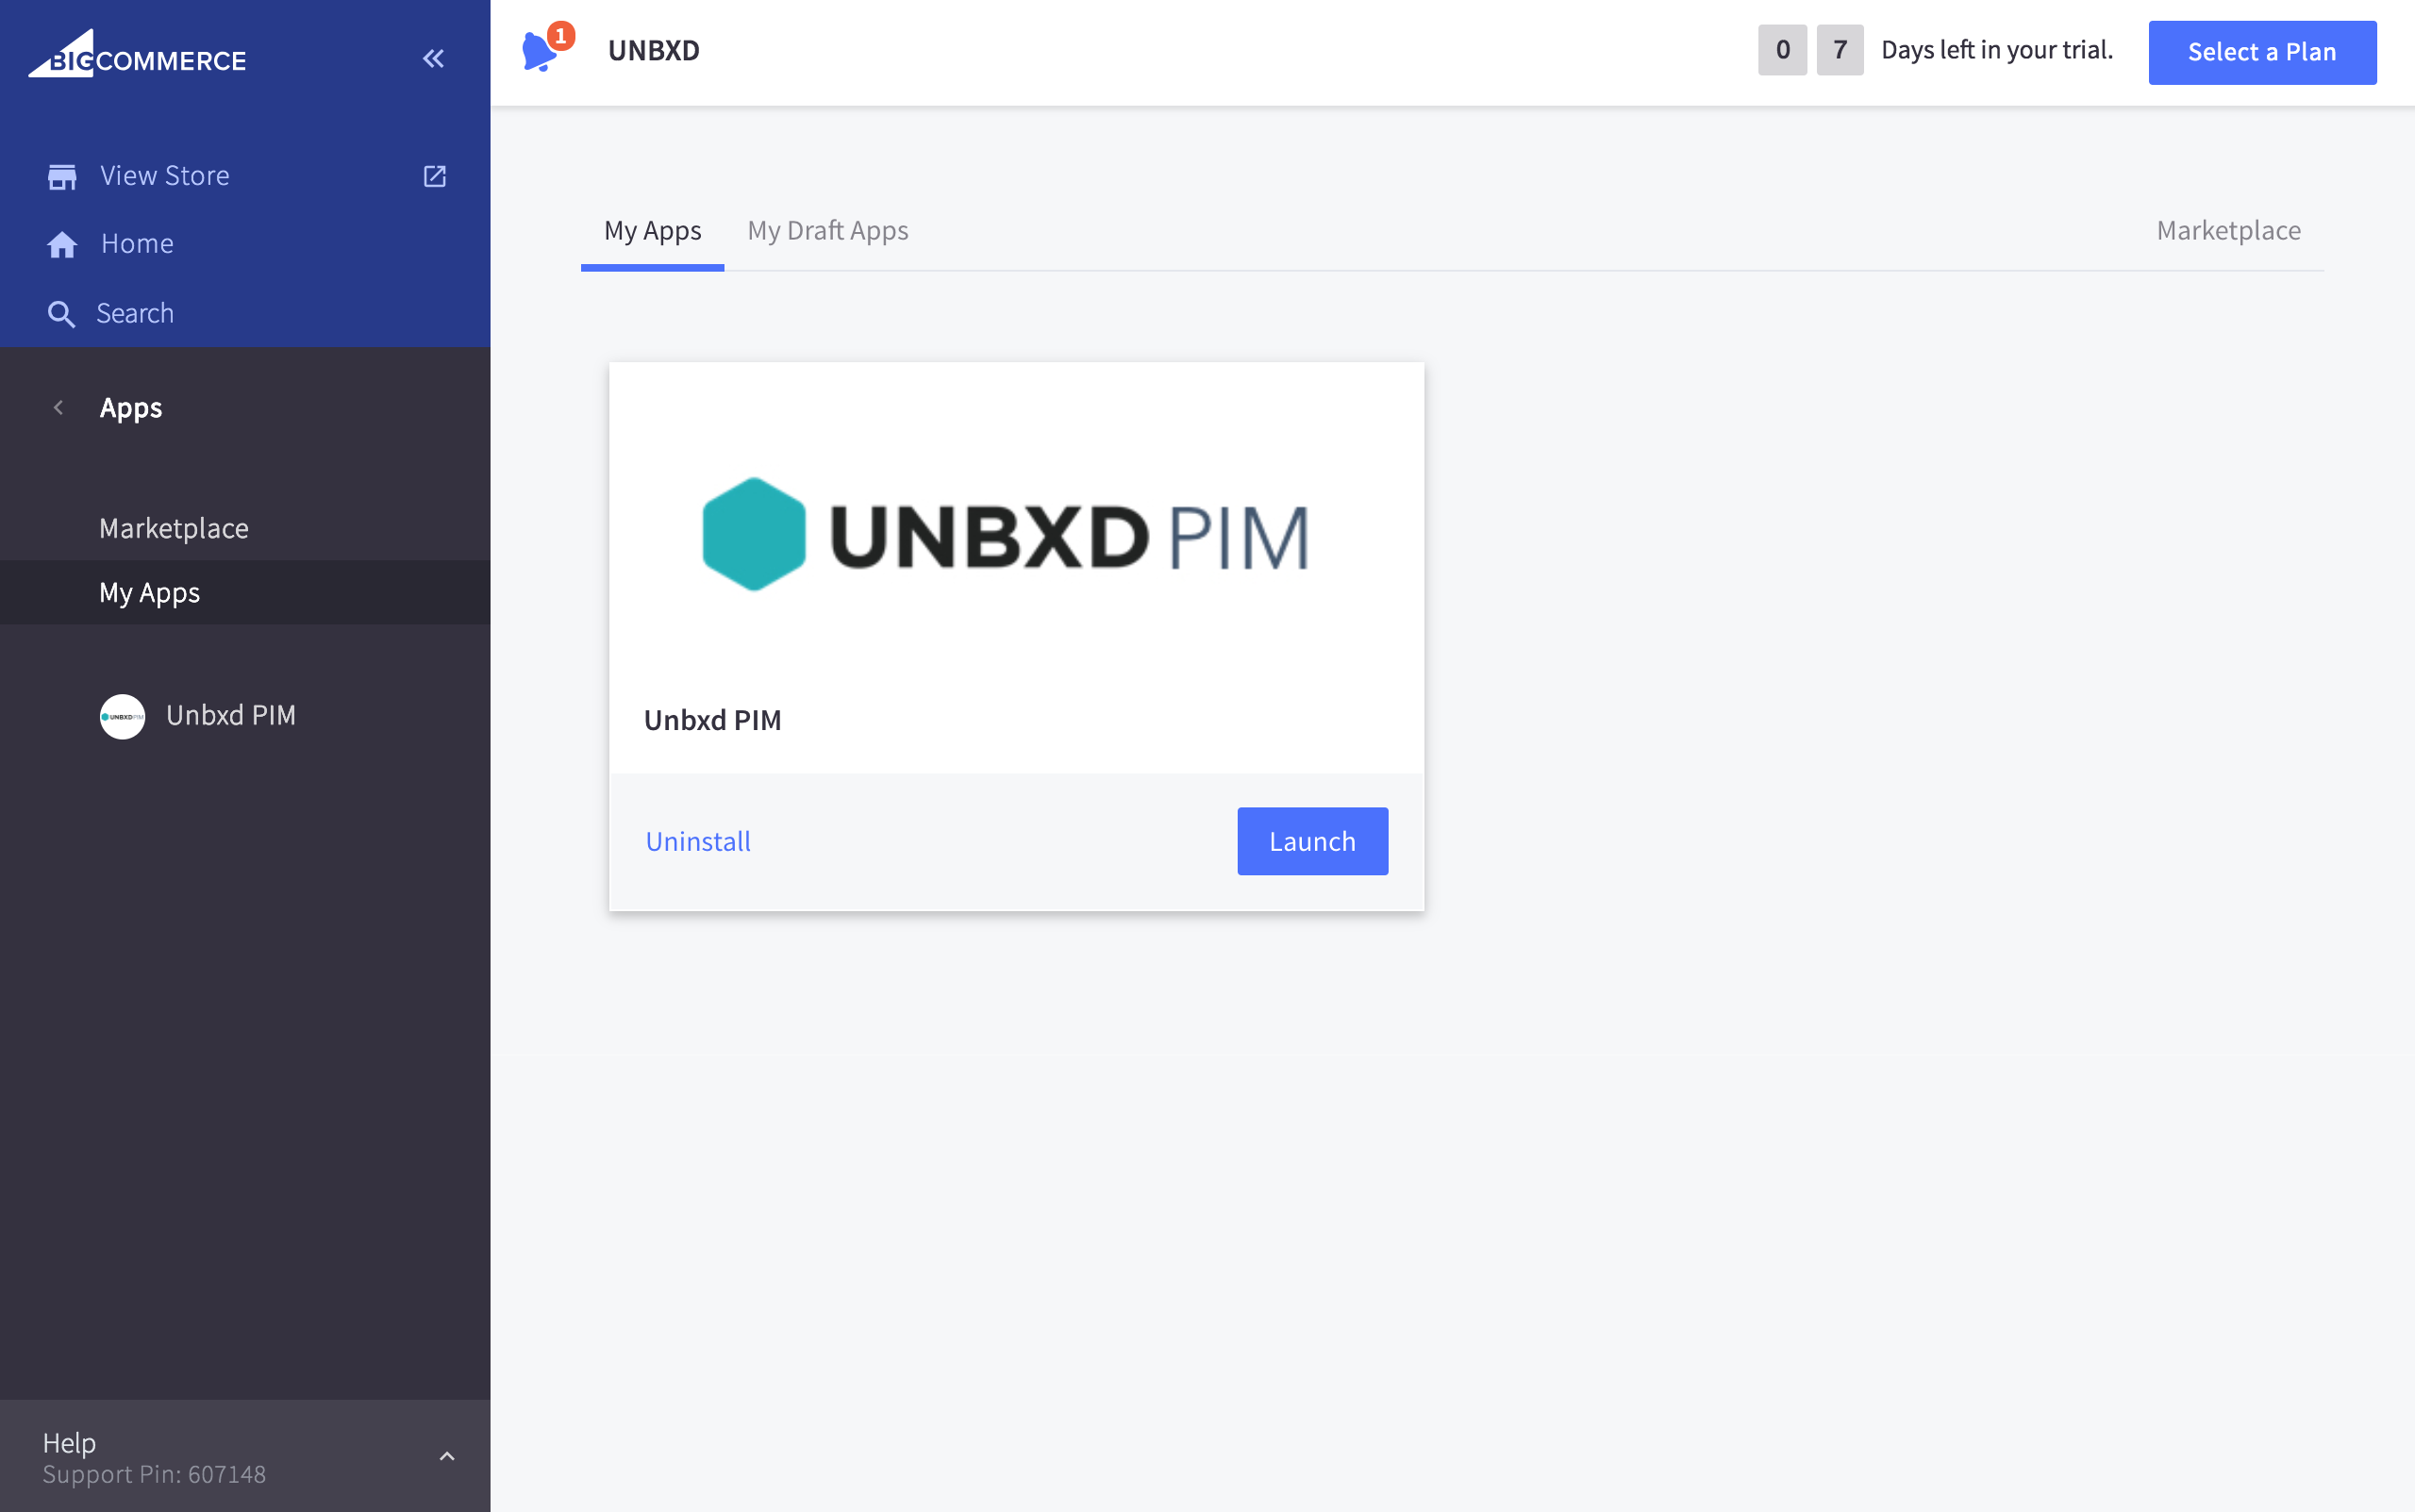
3. Click Launch or click Unbxd PIM under My Apps.
The login page appears.
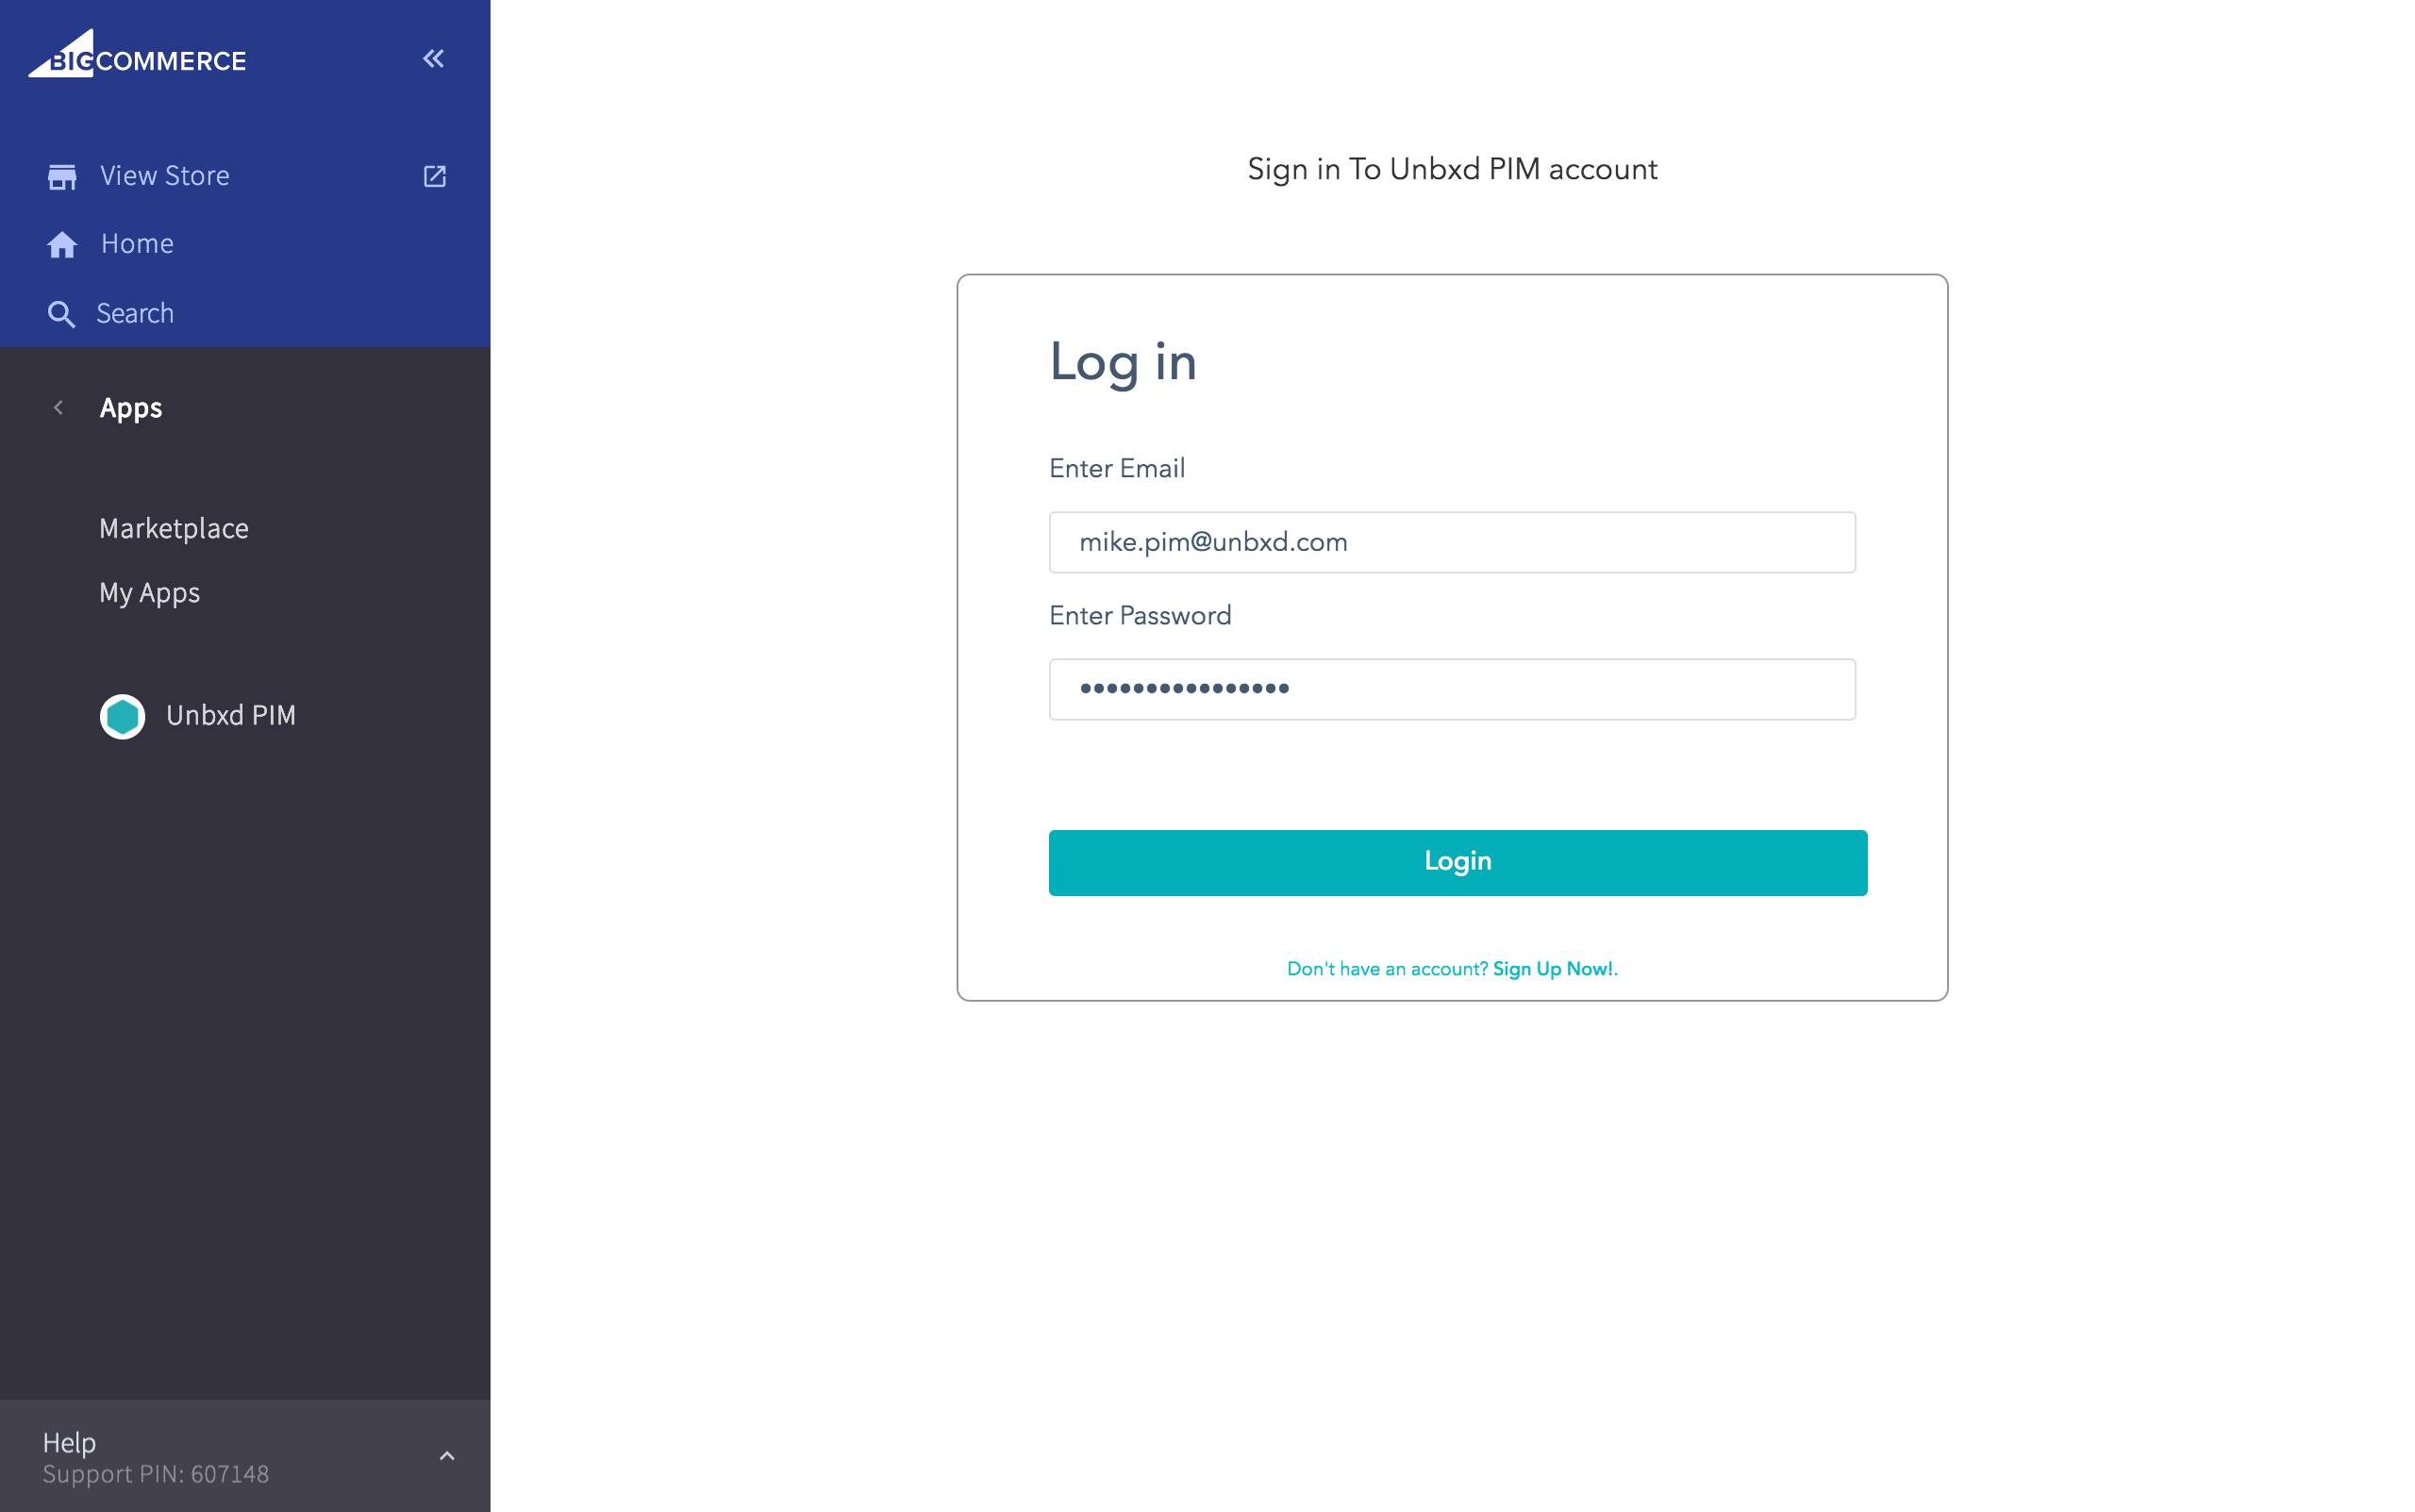
4. Enter your Unbxd PIM email id and password. This will connect BigCommerce with the respective Unbxd PIM account
5. Click Login.
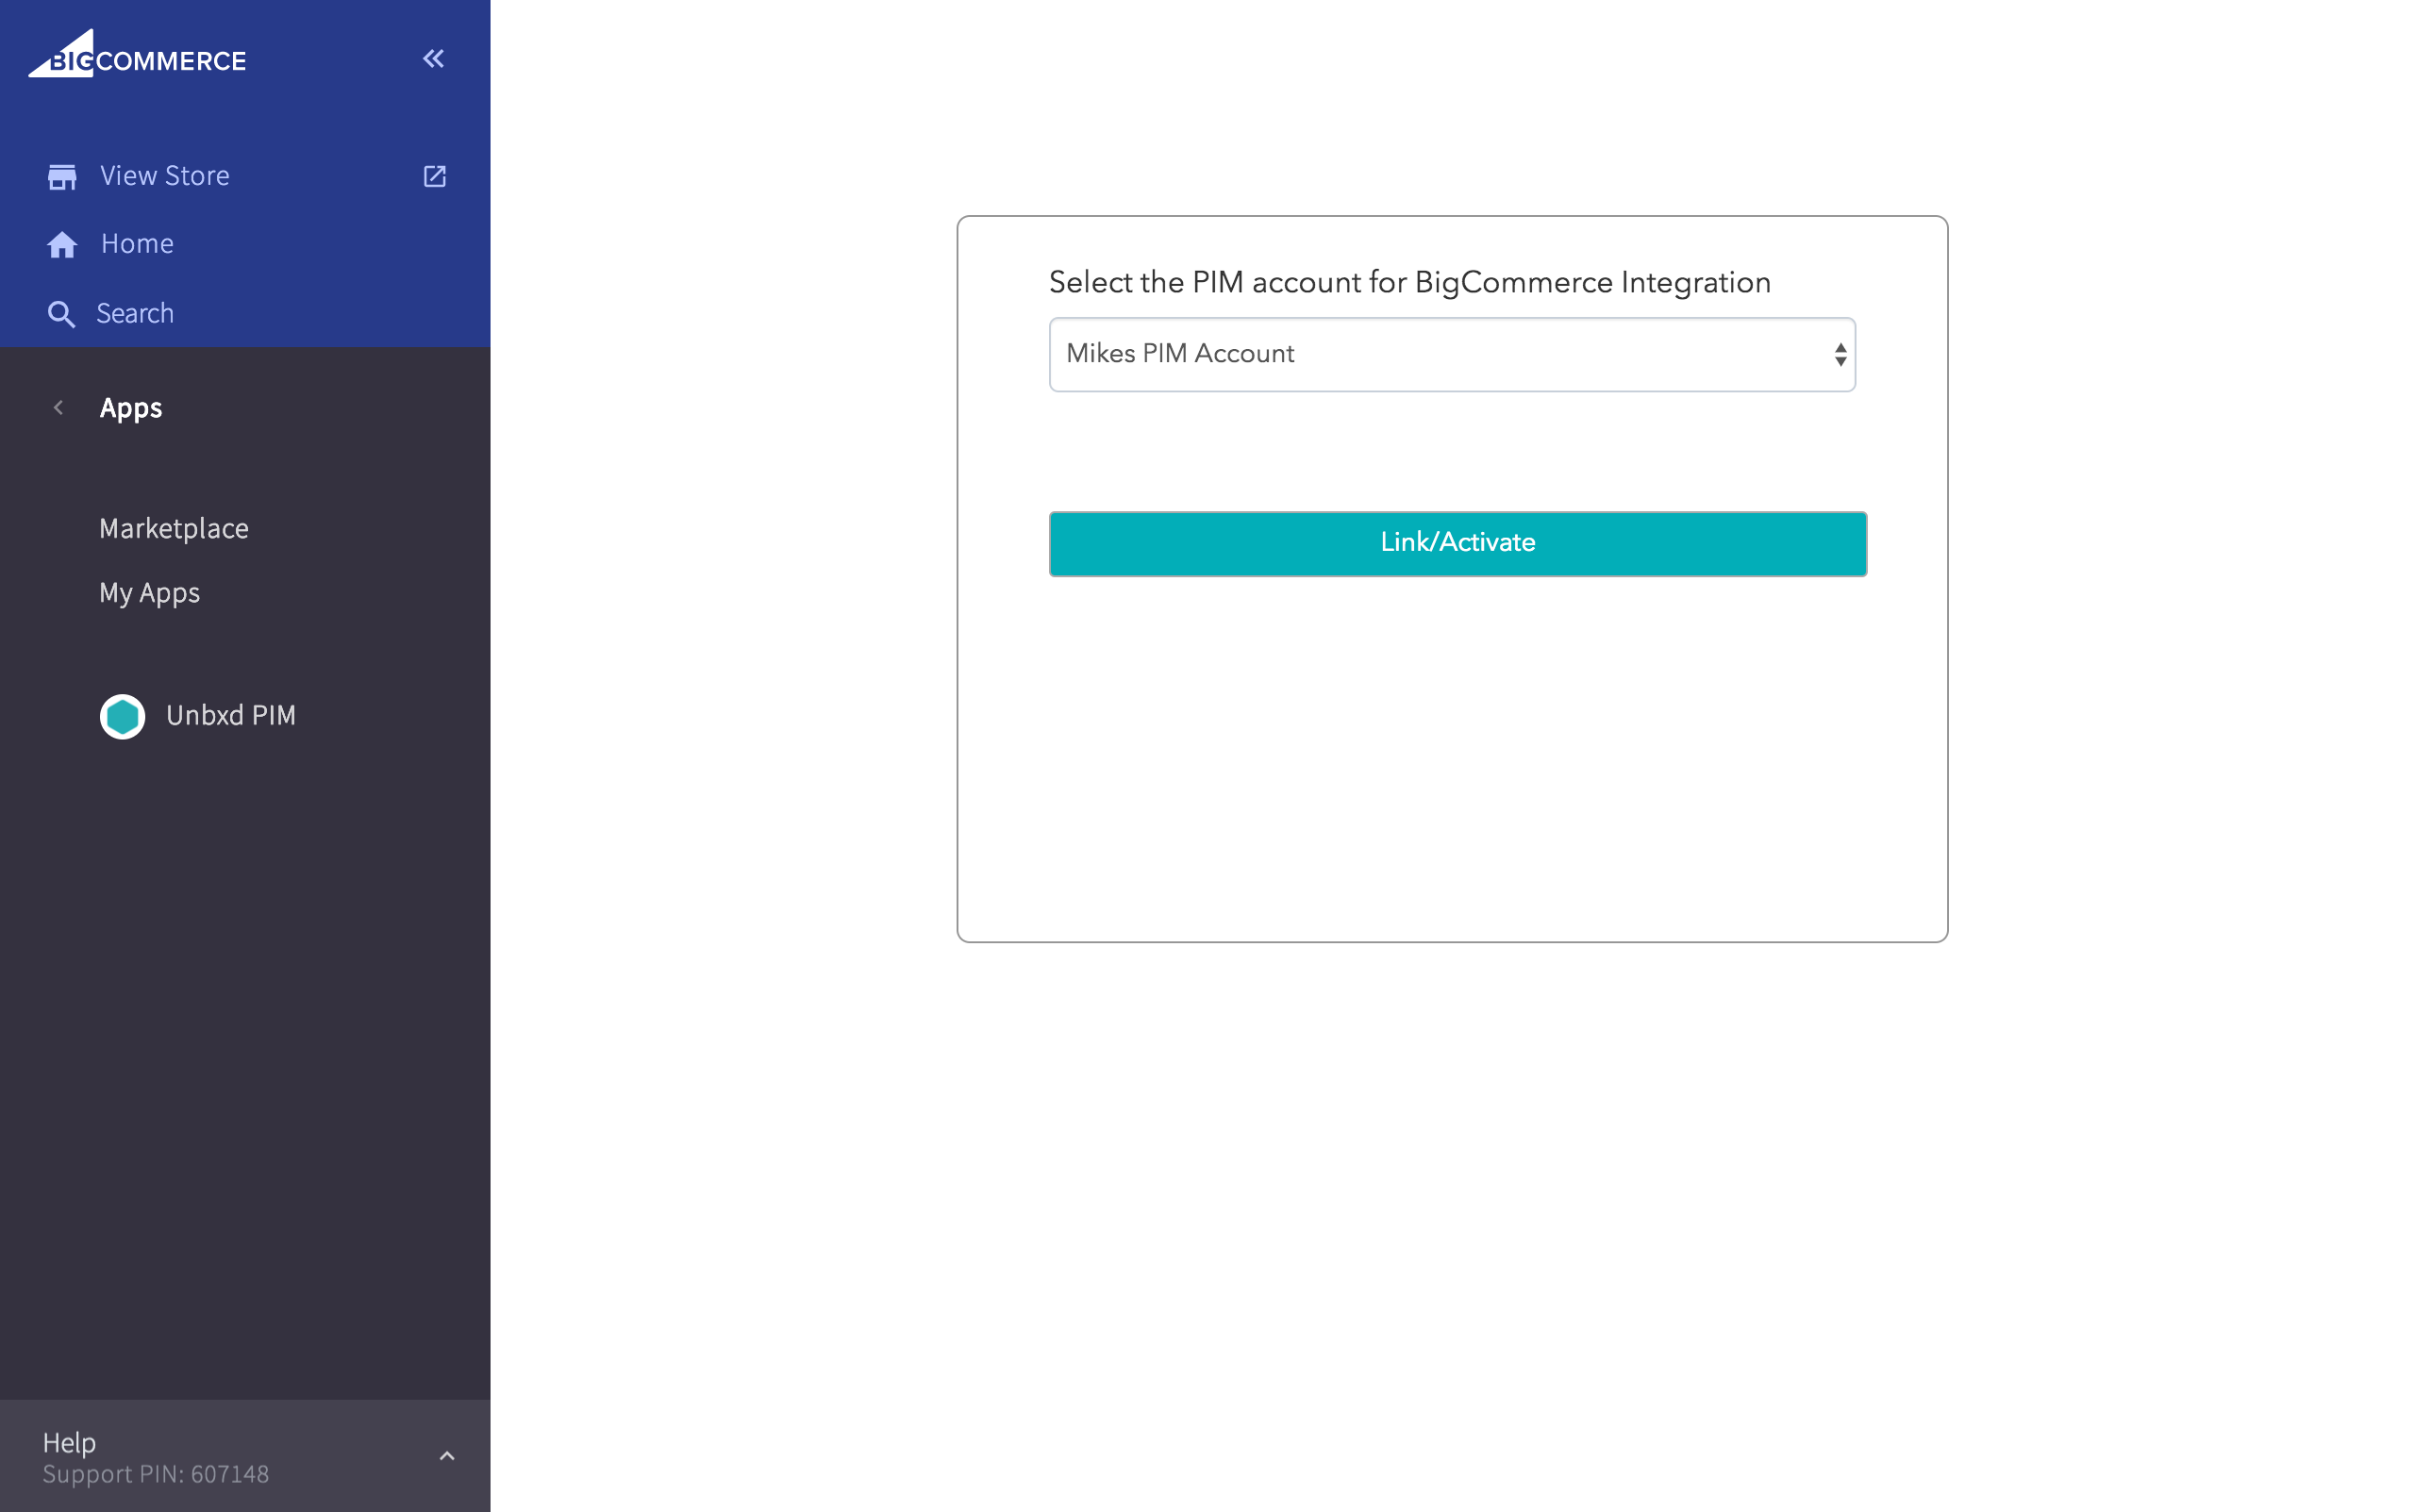
6. If you are part of multiple PIM organizations, select the appropriate organization name.
7. Click Link/Activate.
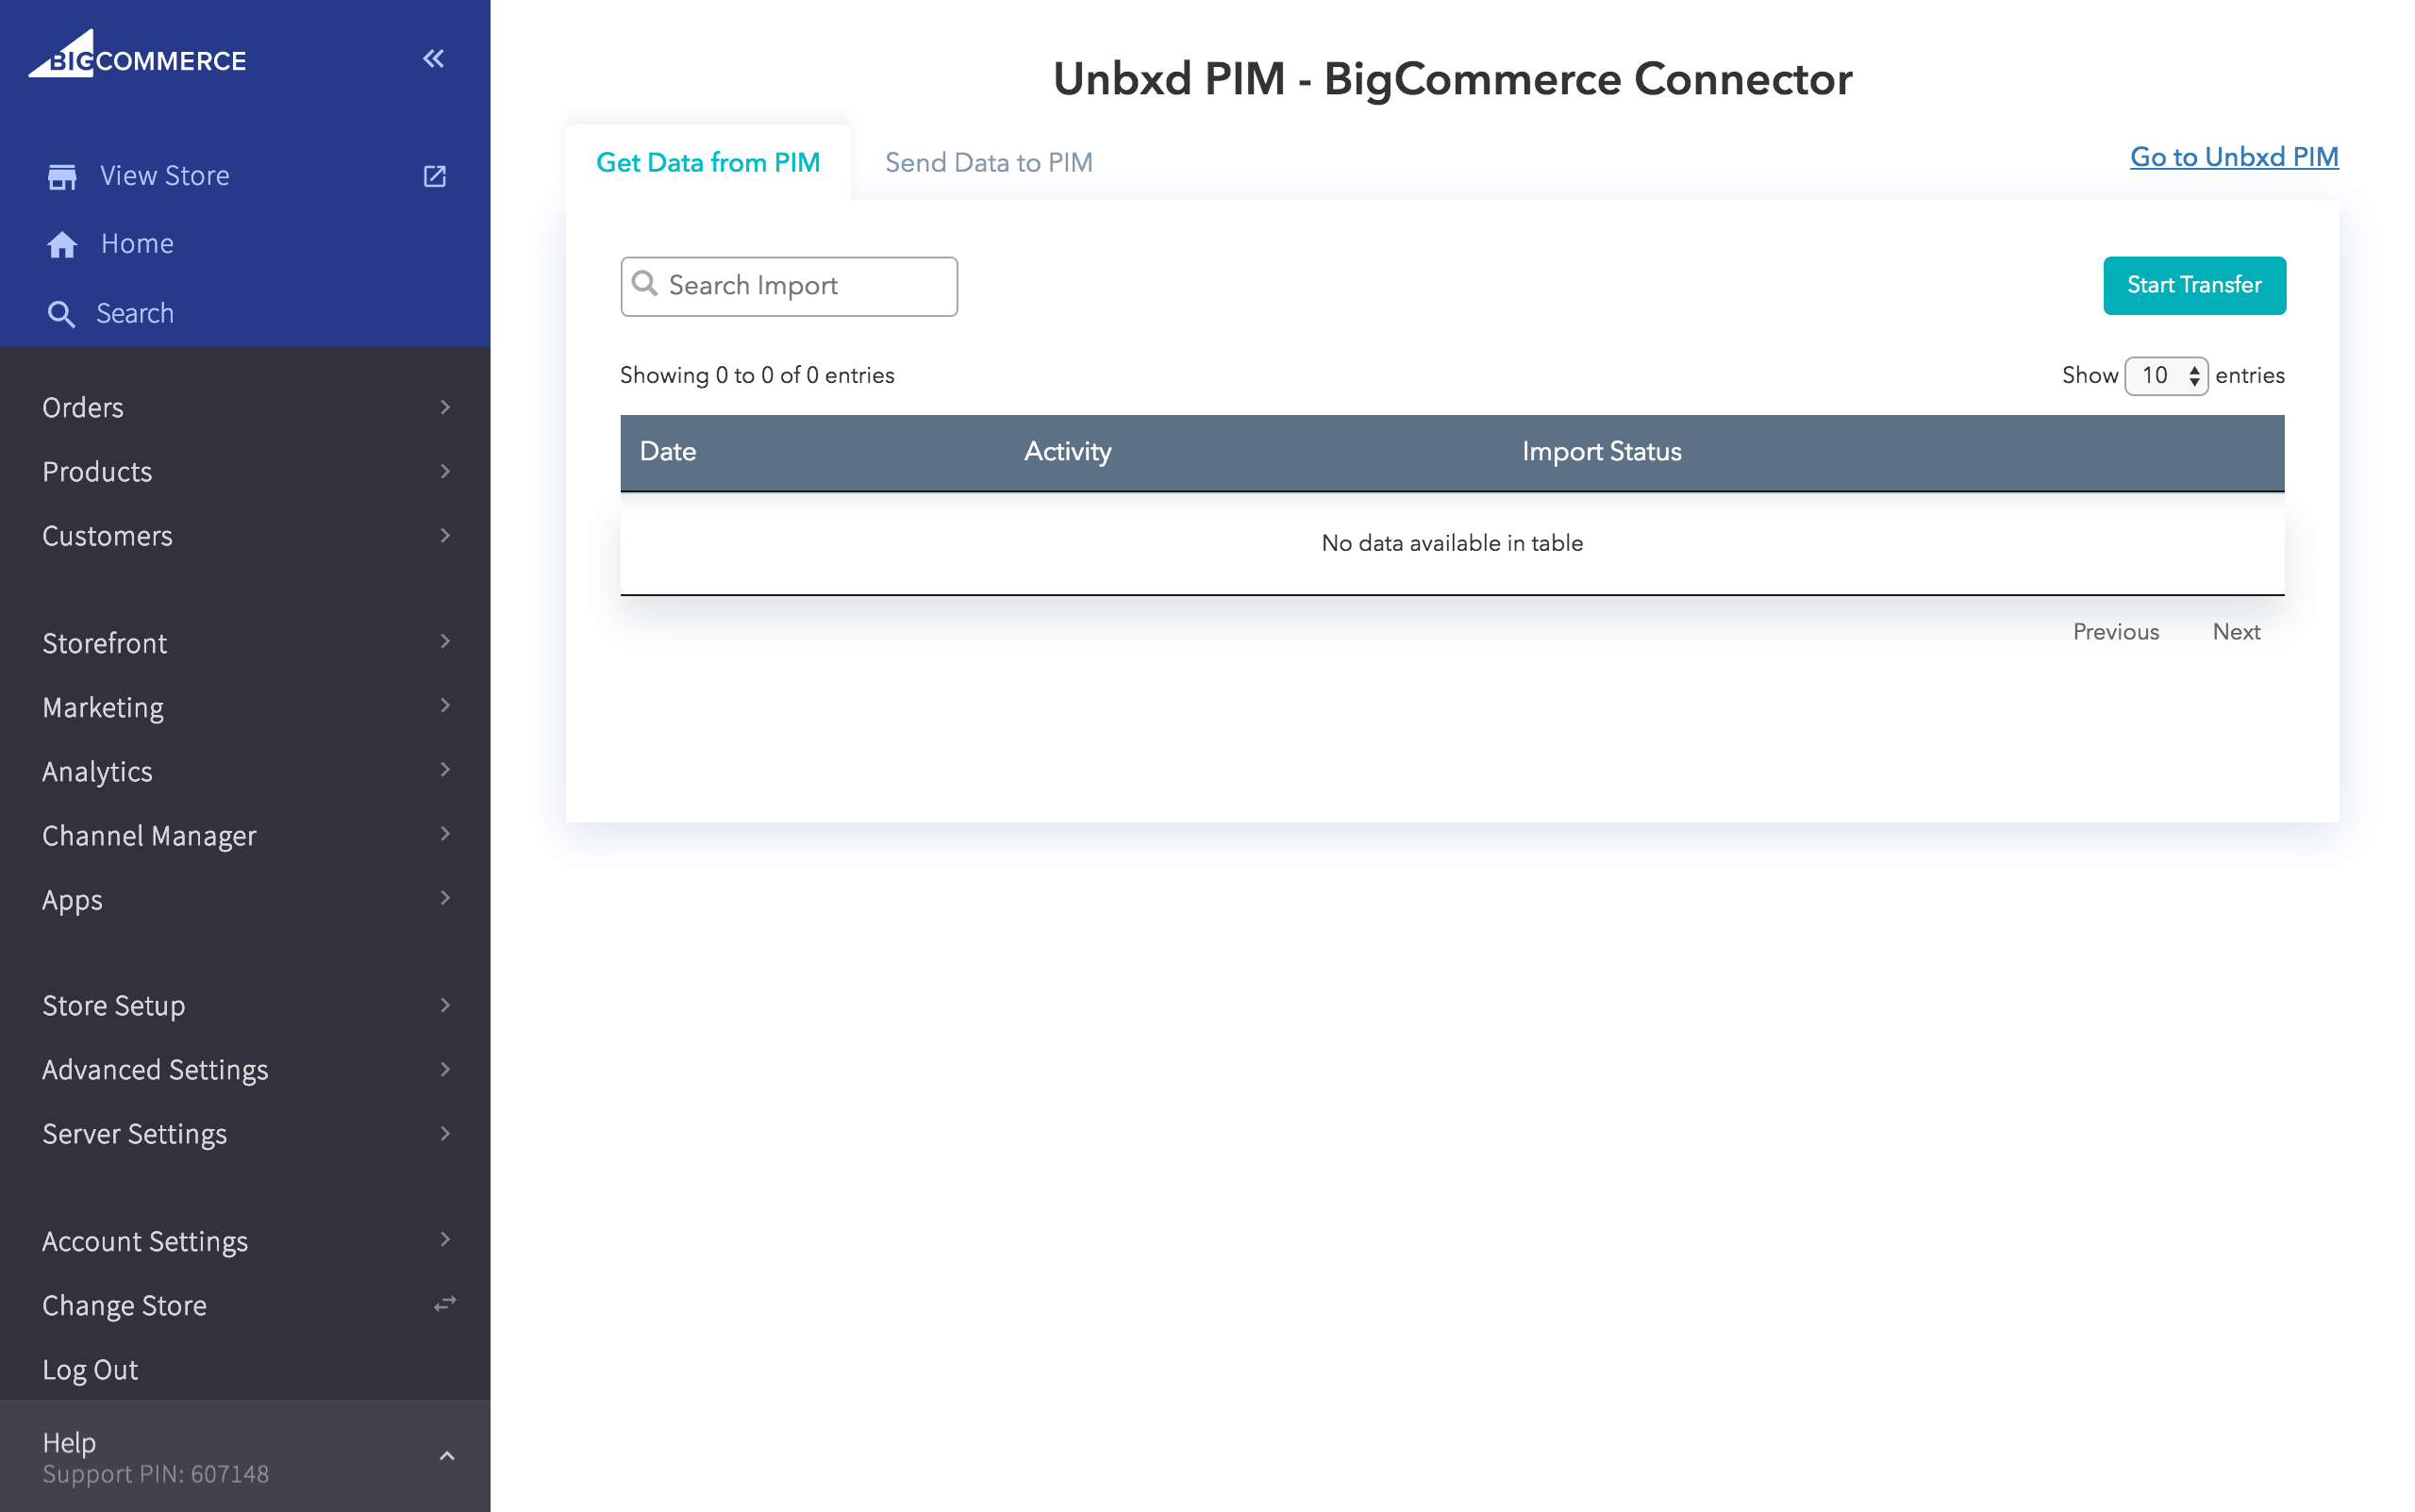
The Unbxd PIM – BigCommerce Connector page appears.
Sending Data from BigCommerce to Unbxd PIM (First Time Transfer)
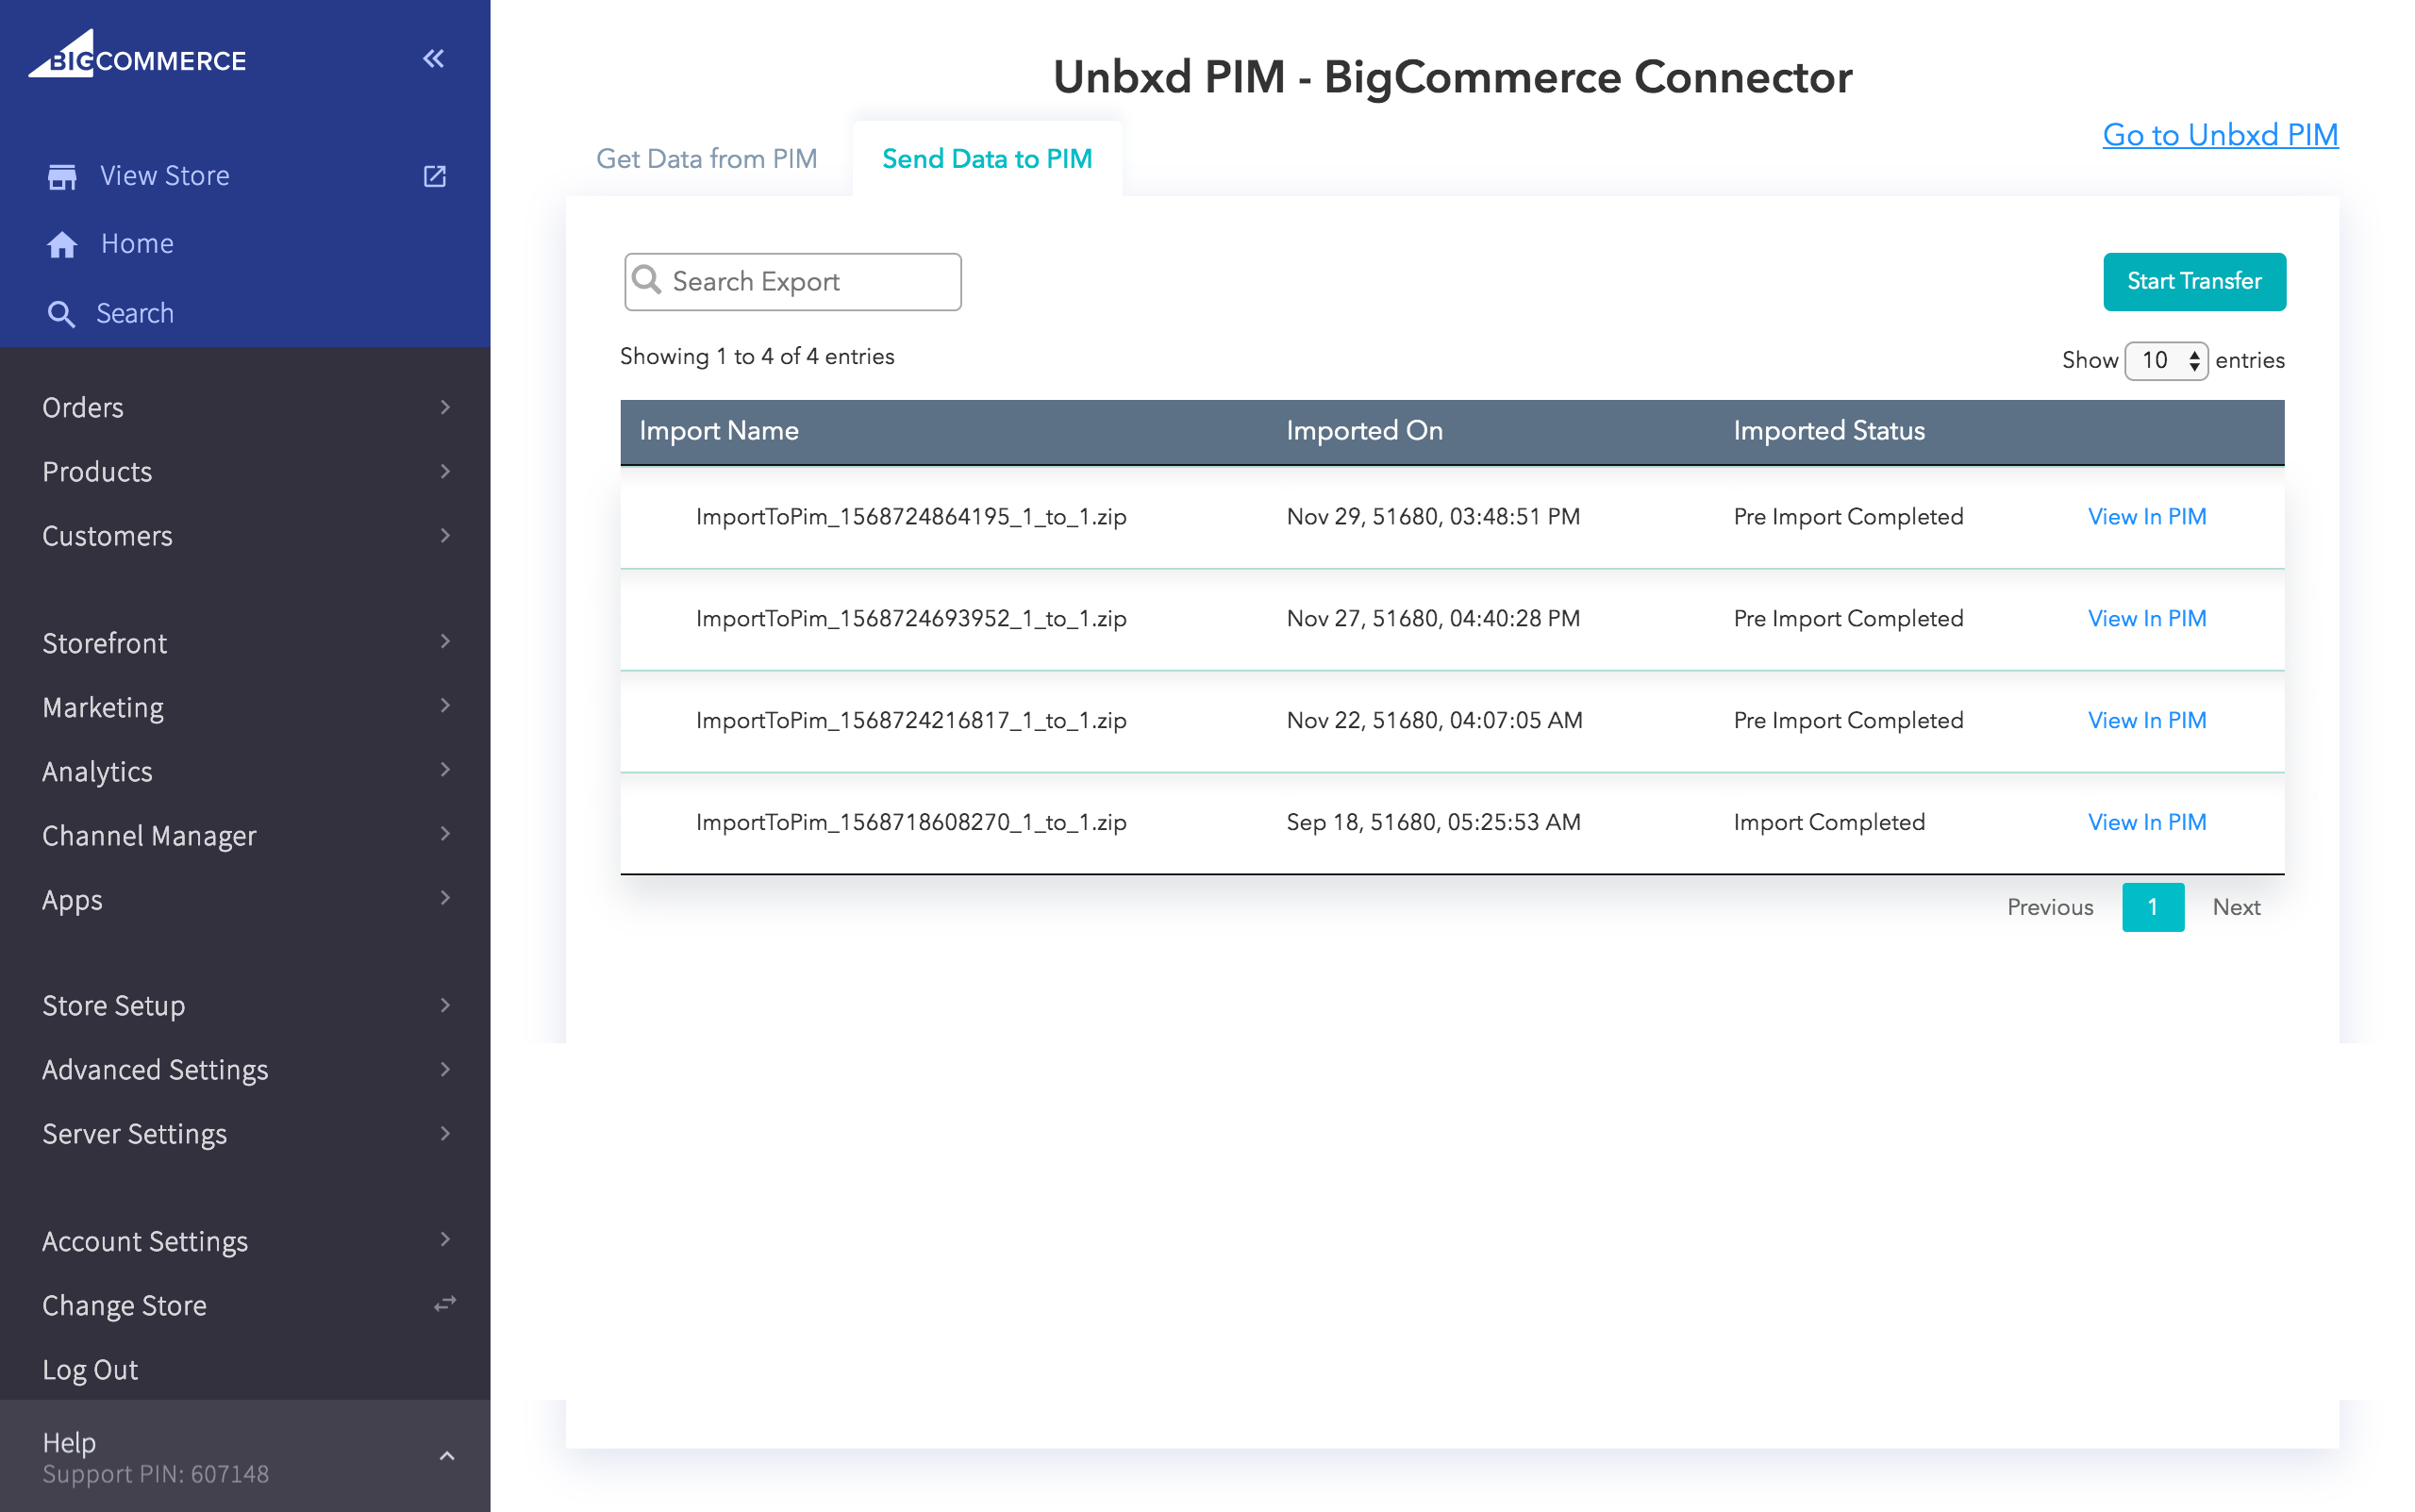
1. Click the Send Data to PIM tab.
2. Click Start Transfer.
After the data transfer, the product file will be available in the Imports Listing page in Unbxd PIM.
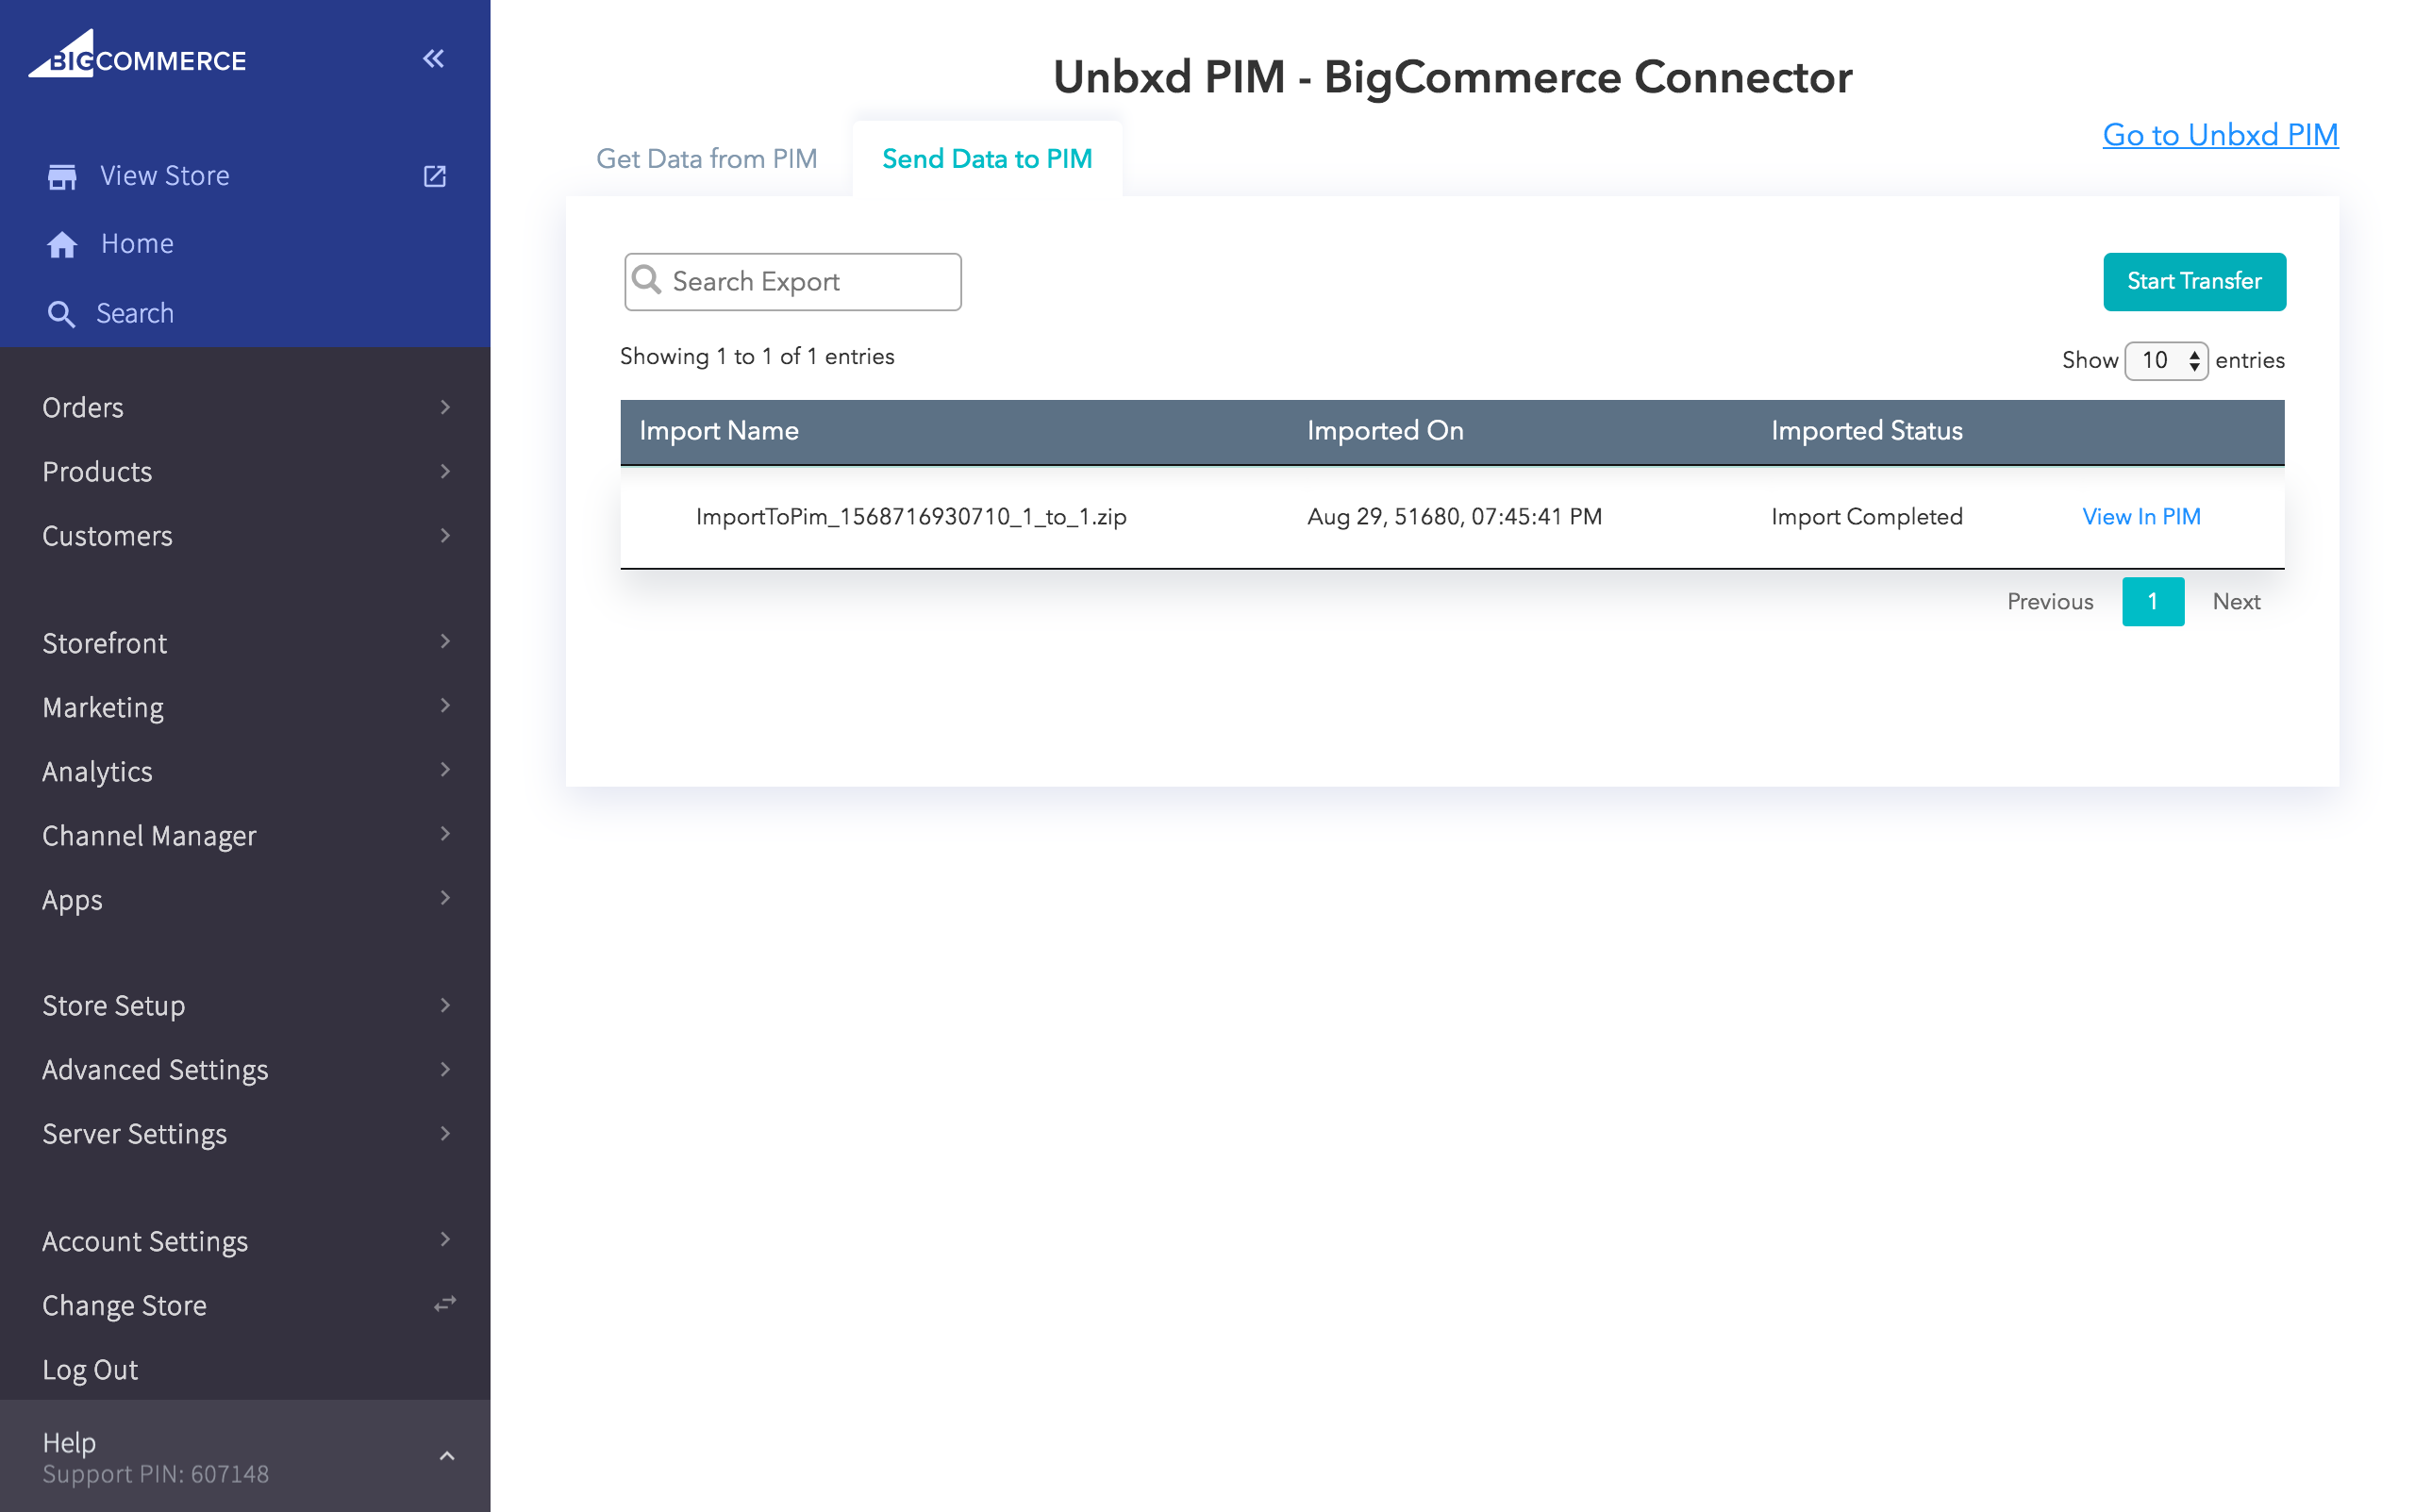
3. Click View in PIM.
4. On the MANAGE tab, click Import.
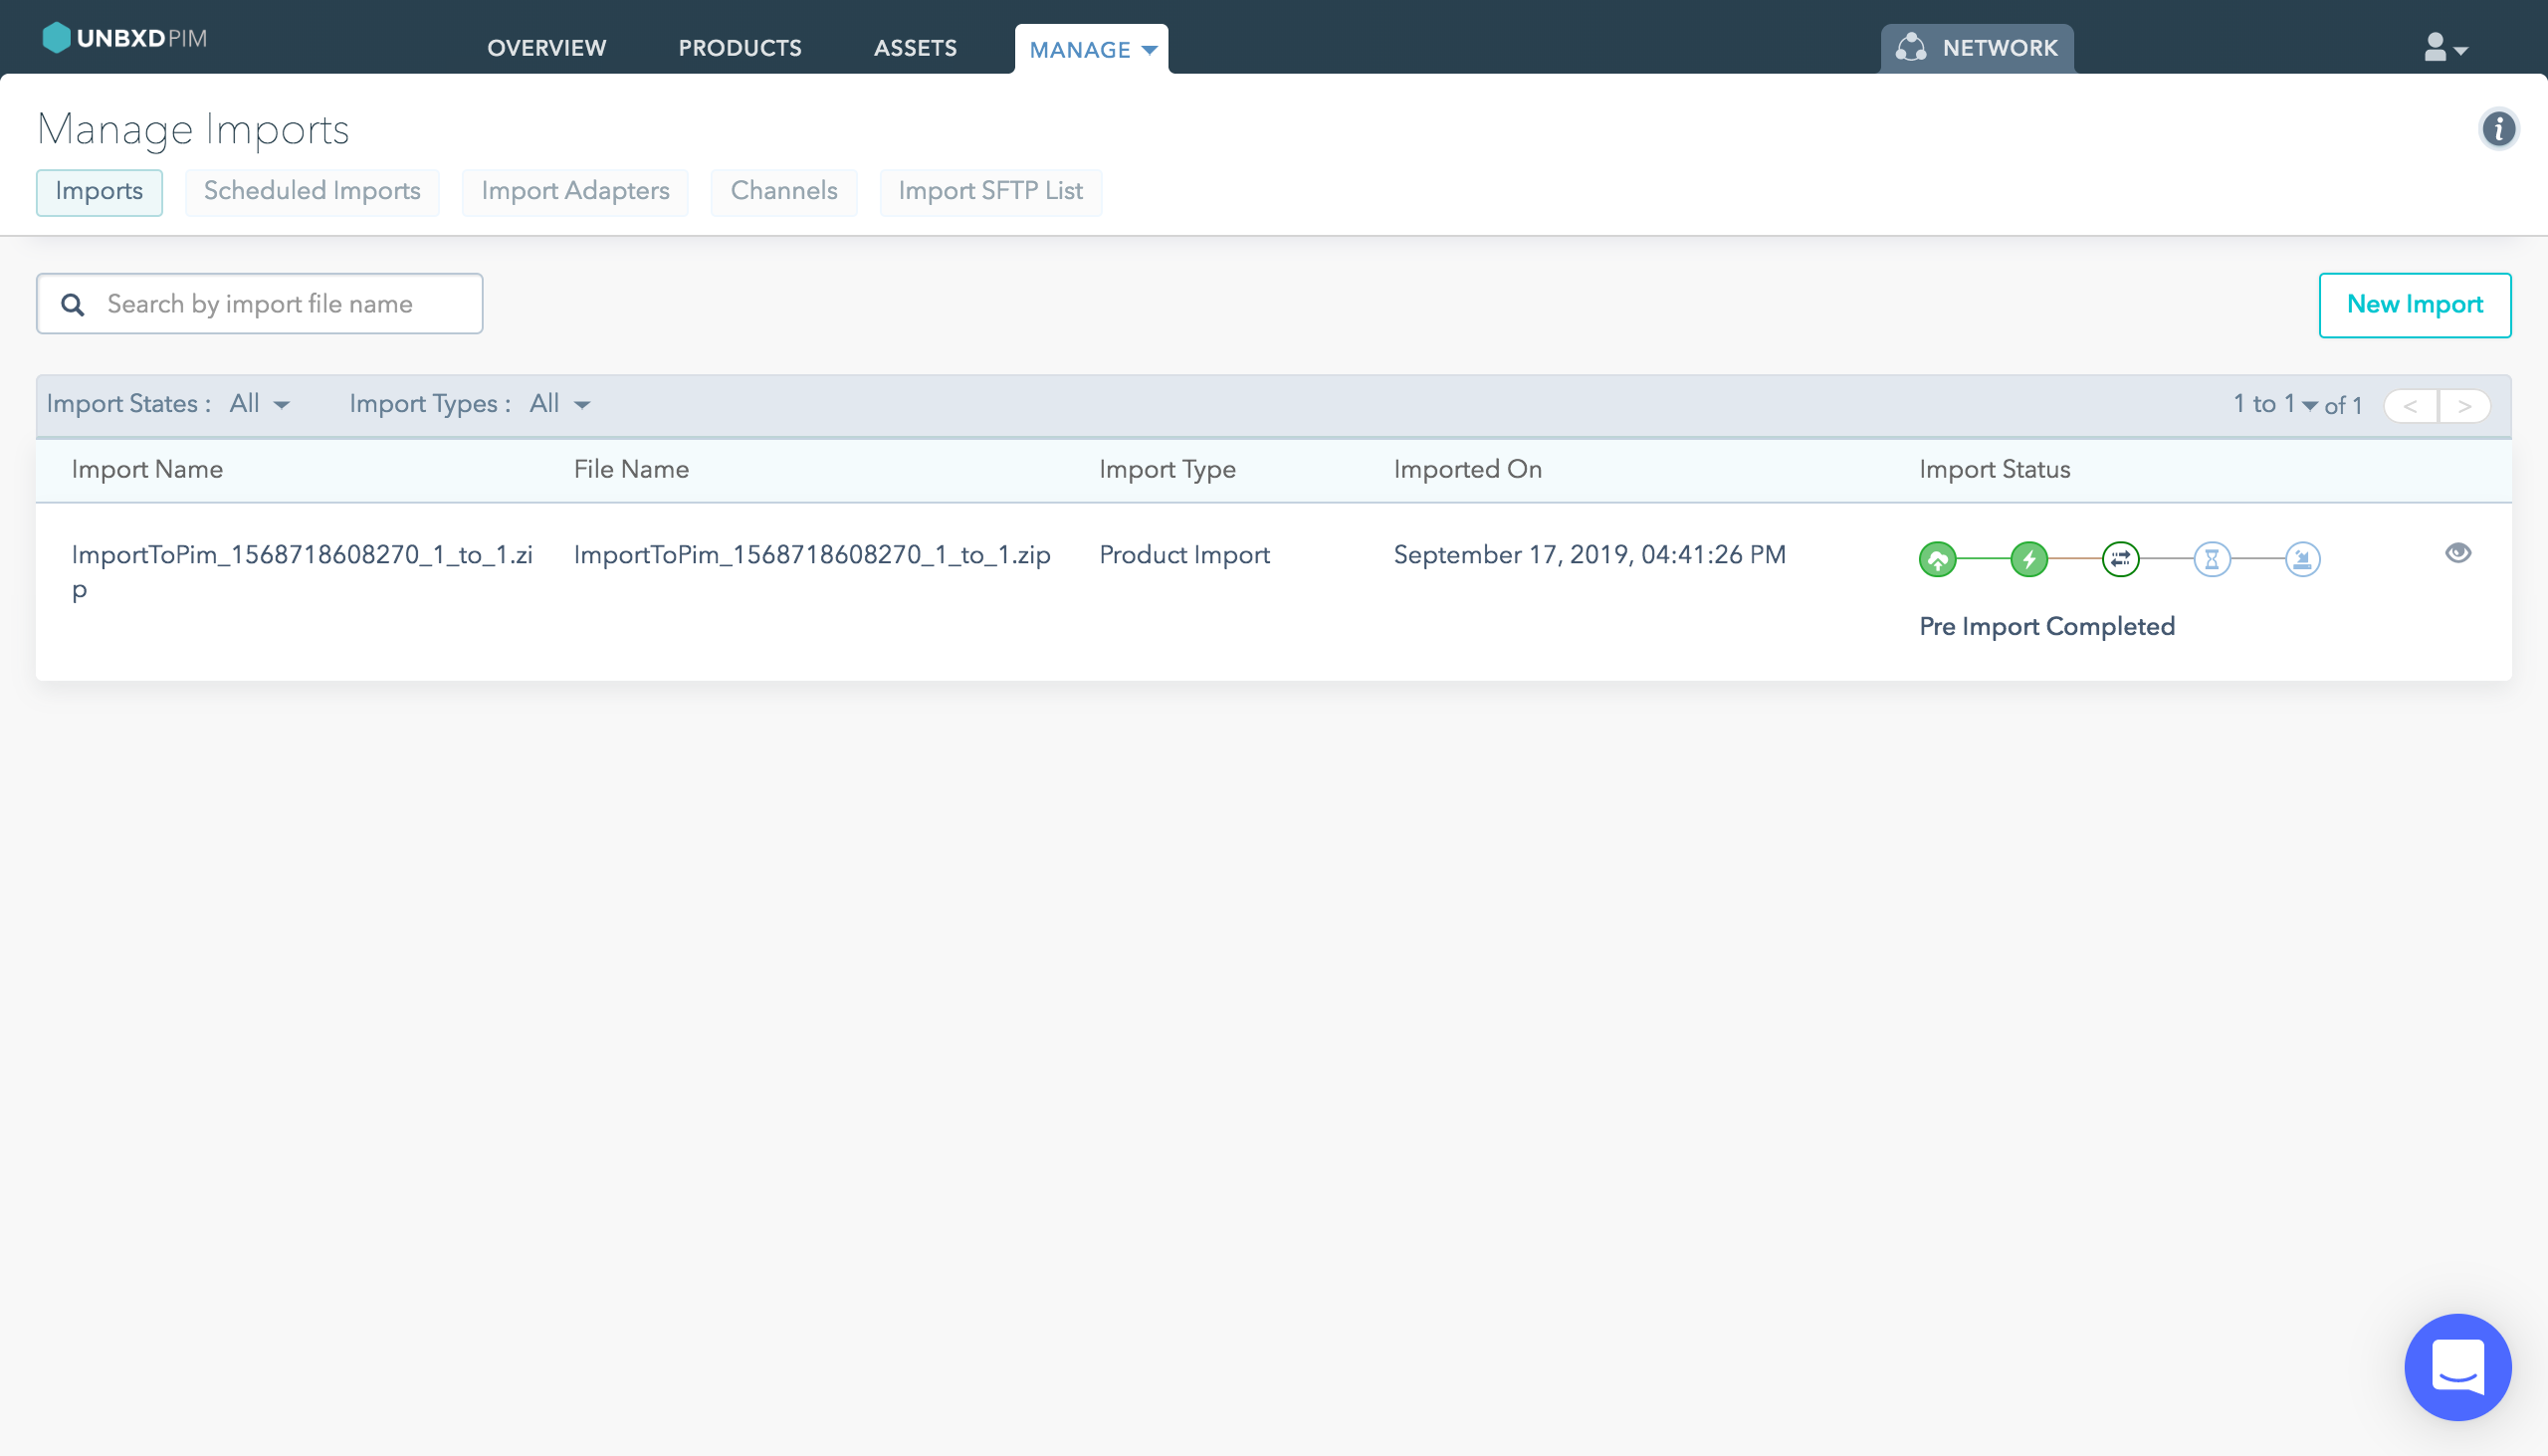
5. To map and configure product properties, click ![]() .
.
6. Map the important properties with the following:
- Product Id to pim_unique_id
- Product Name to name
- Product Image to image_url_1
- Parent Id to pim_parent_id
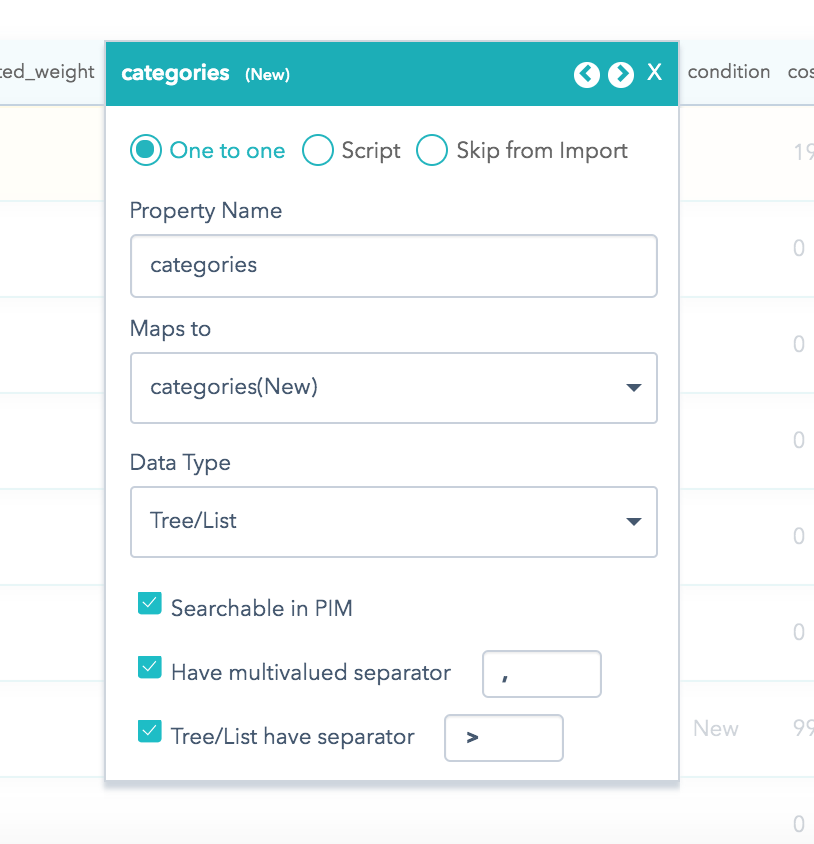
- Category to categories

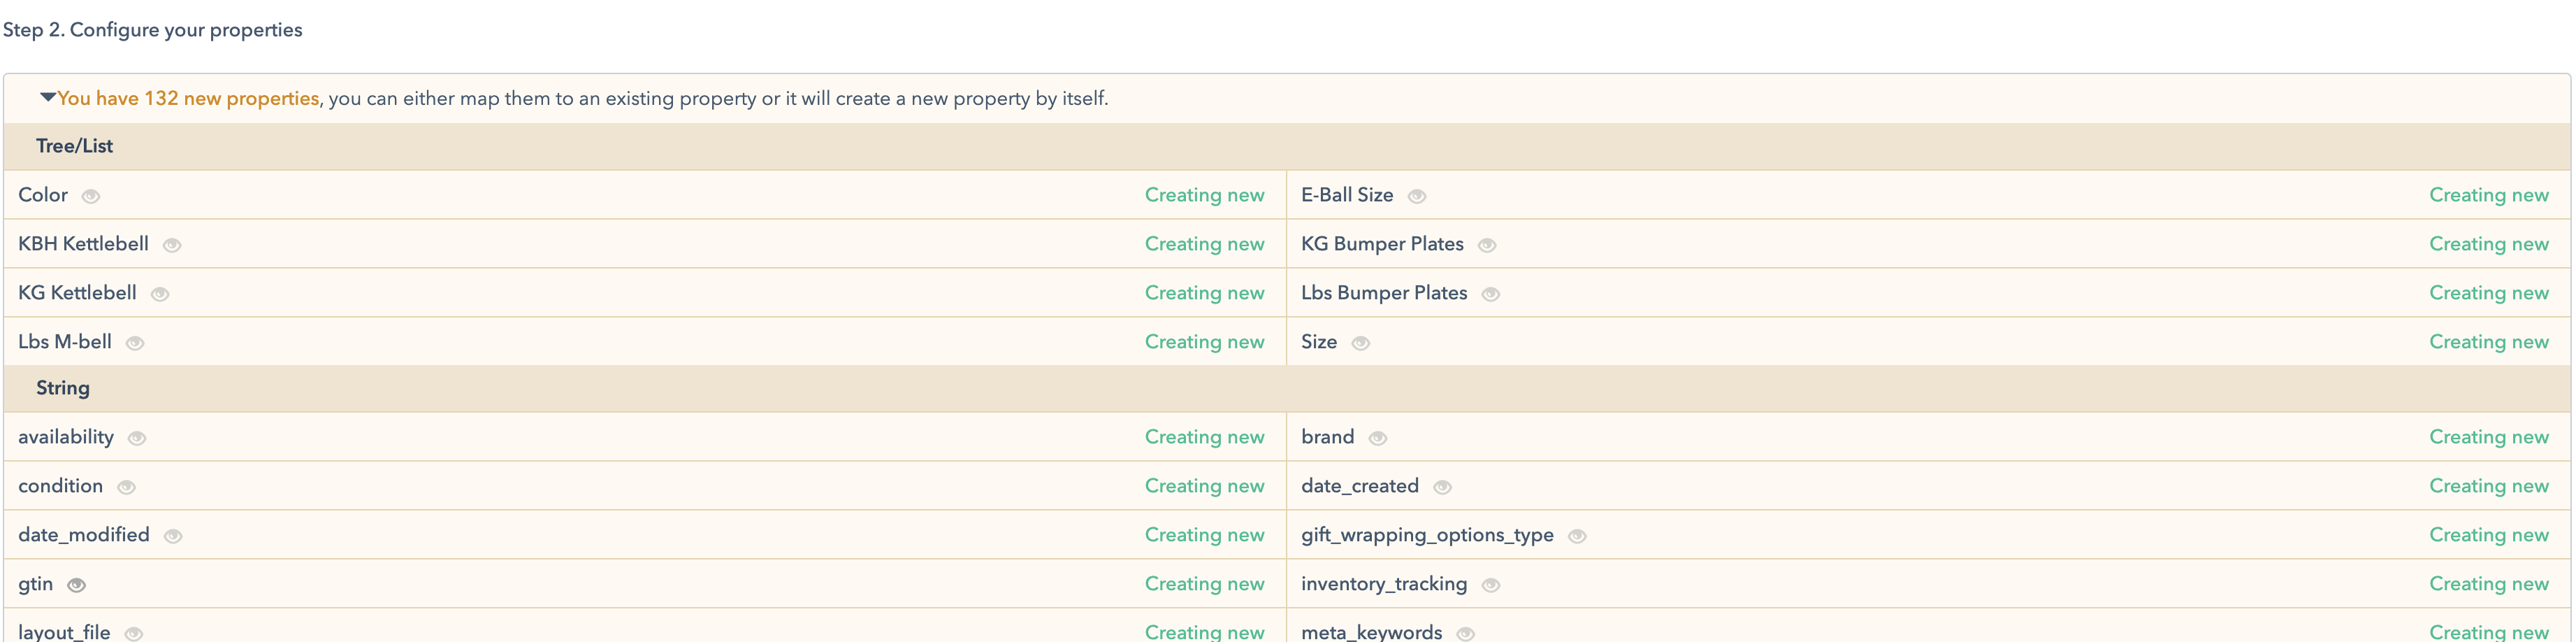
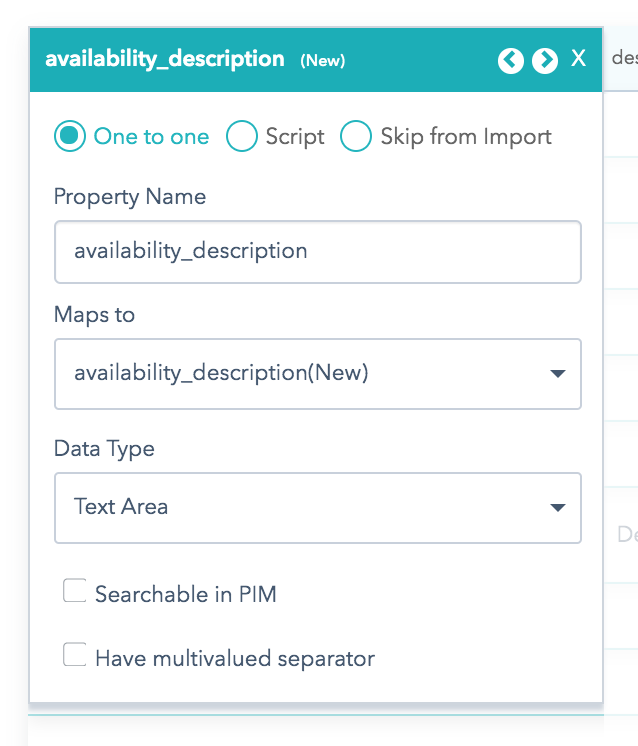
7. Map and configure for other properties.
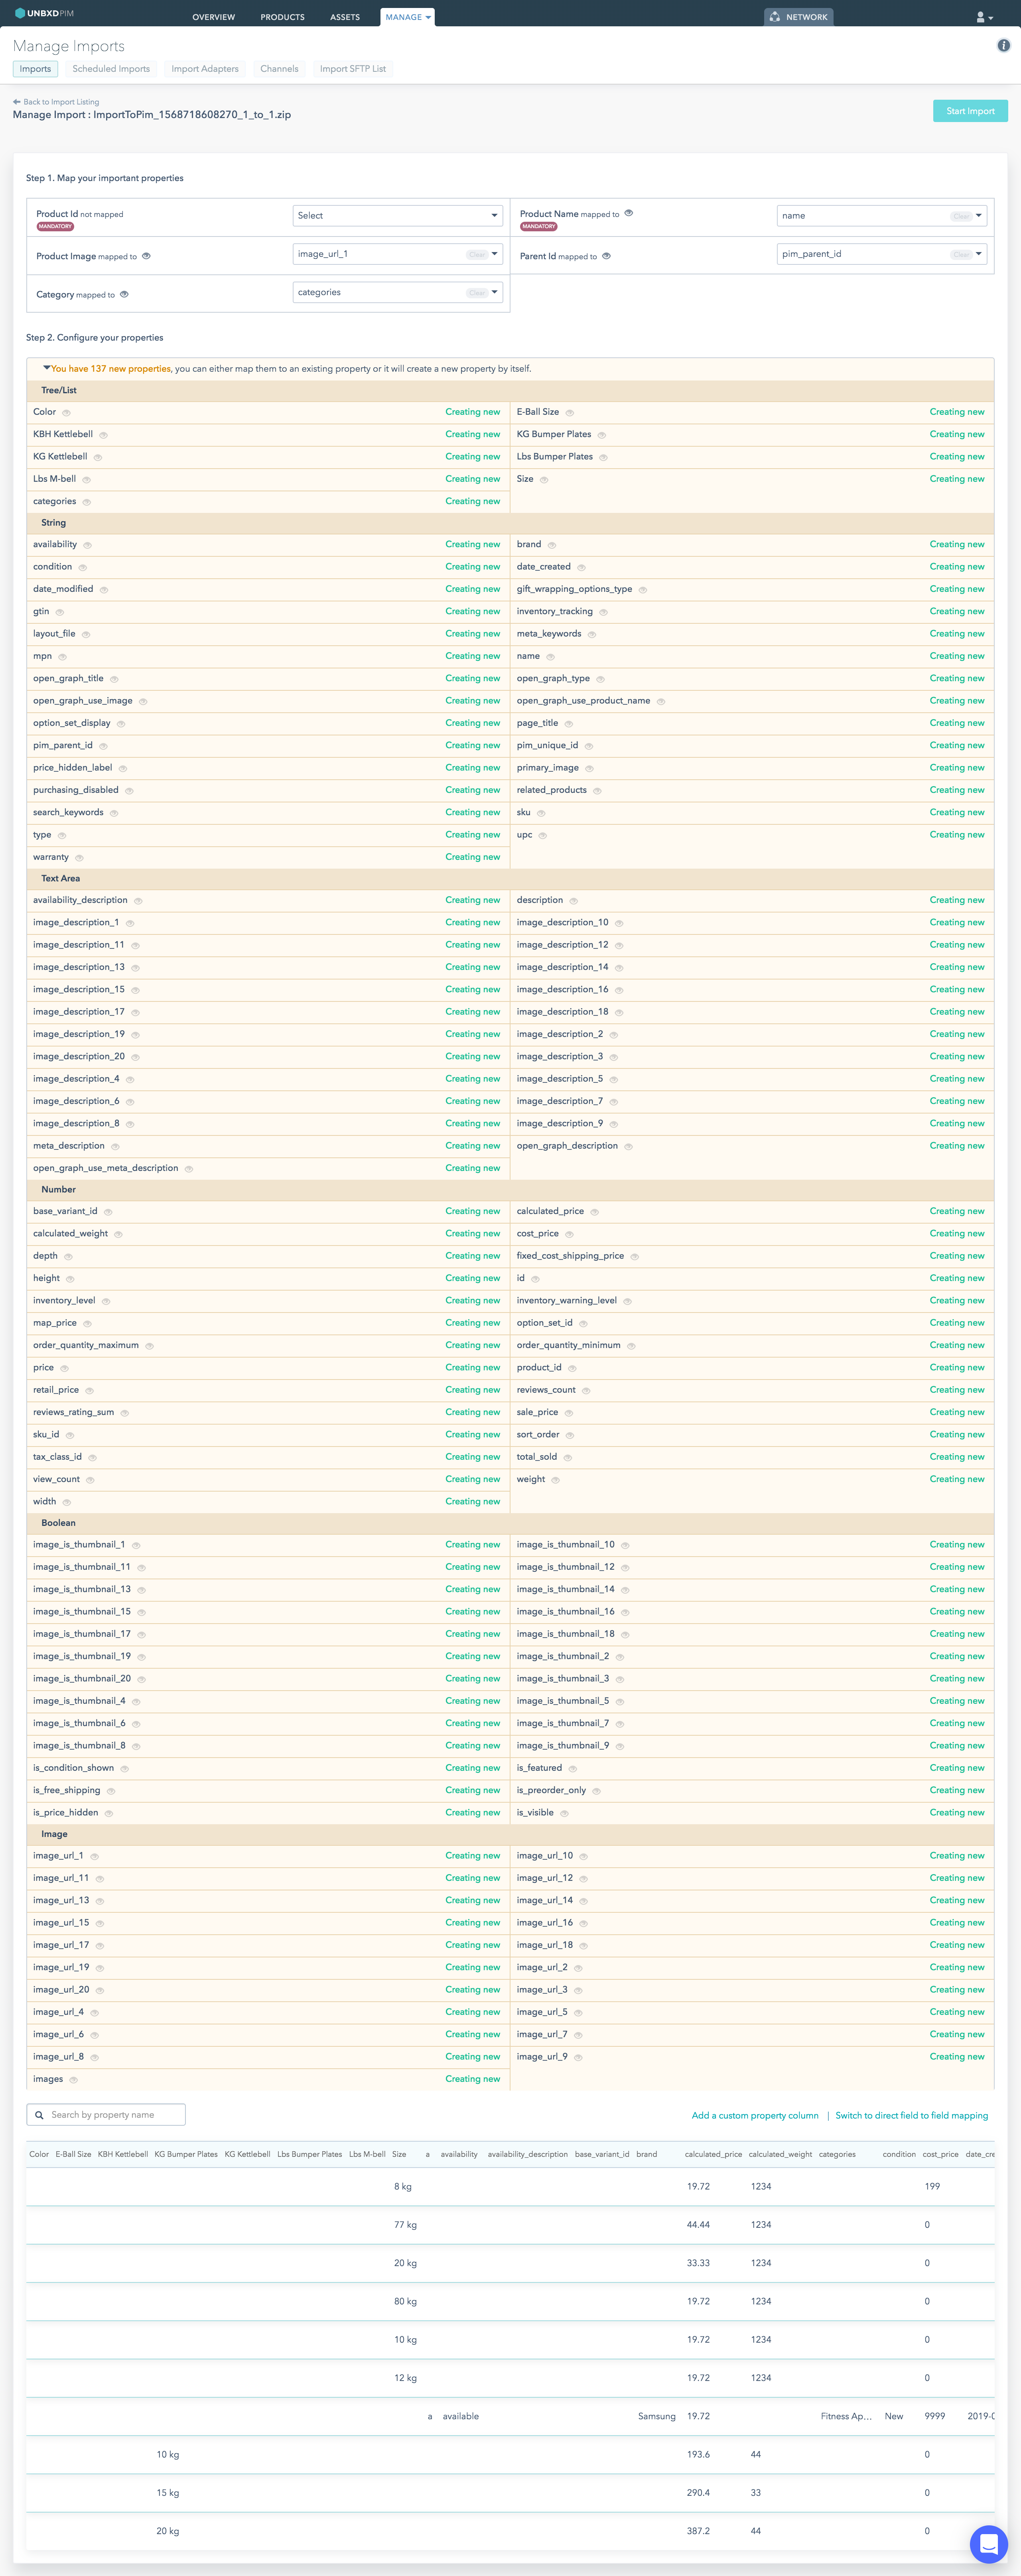
For a category property:
You must set the data type to Tree/List and use the multivalued separator as “,” and tree/list separator as “>“.
For all your options and option value type properties, set the data type to Tree/List. Example, Color, Size etc.
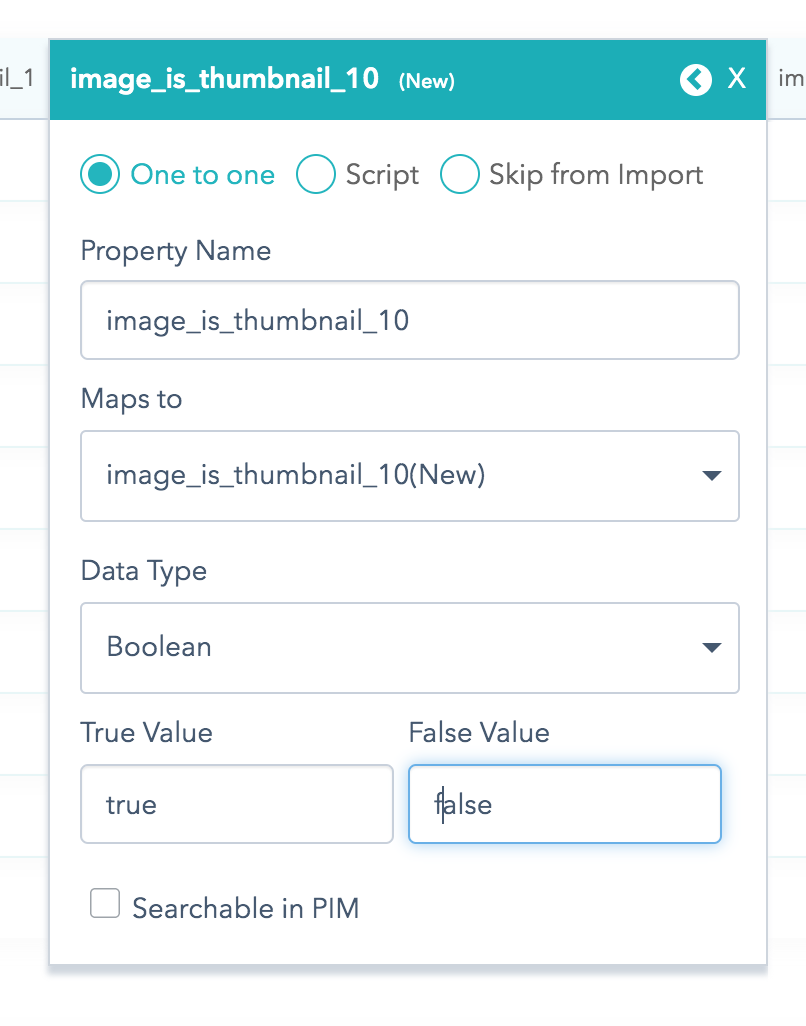
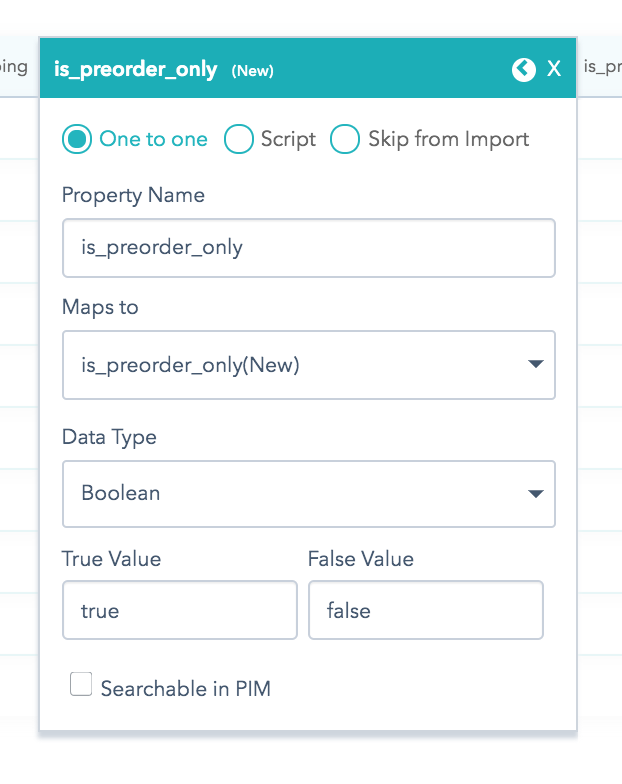
For a property with boolean values:
You must enter the respective True and False values.
For a property with text and rich content (such as descriptions):
You must set the data type to Text Area.
8. Once you are done with mapping and configurations, click Start Import.
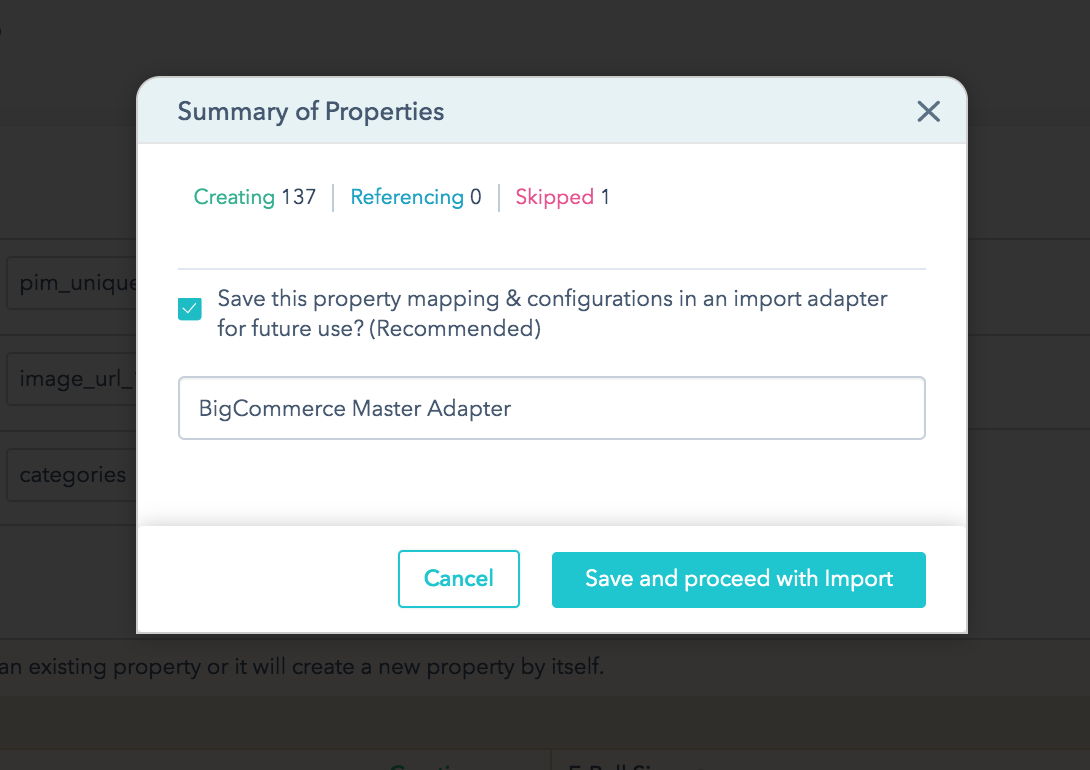
9. Enter a name for the BigCommerce adapter, and then click Save and proceed with Import.
Note: This is to save all your mapping and configuration for easy data transfer in the future.
10. Once the import is done, you can go to the Product Listing page.
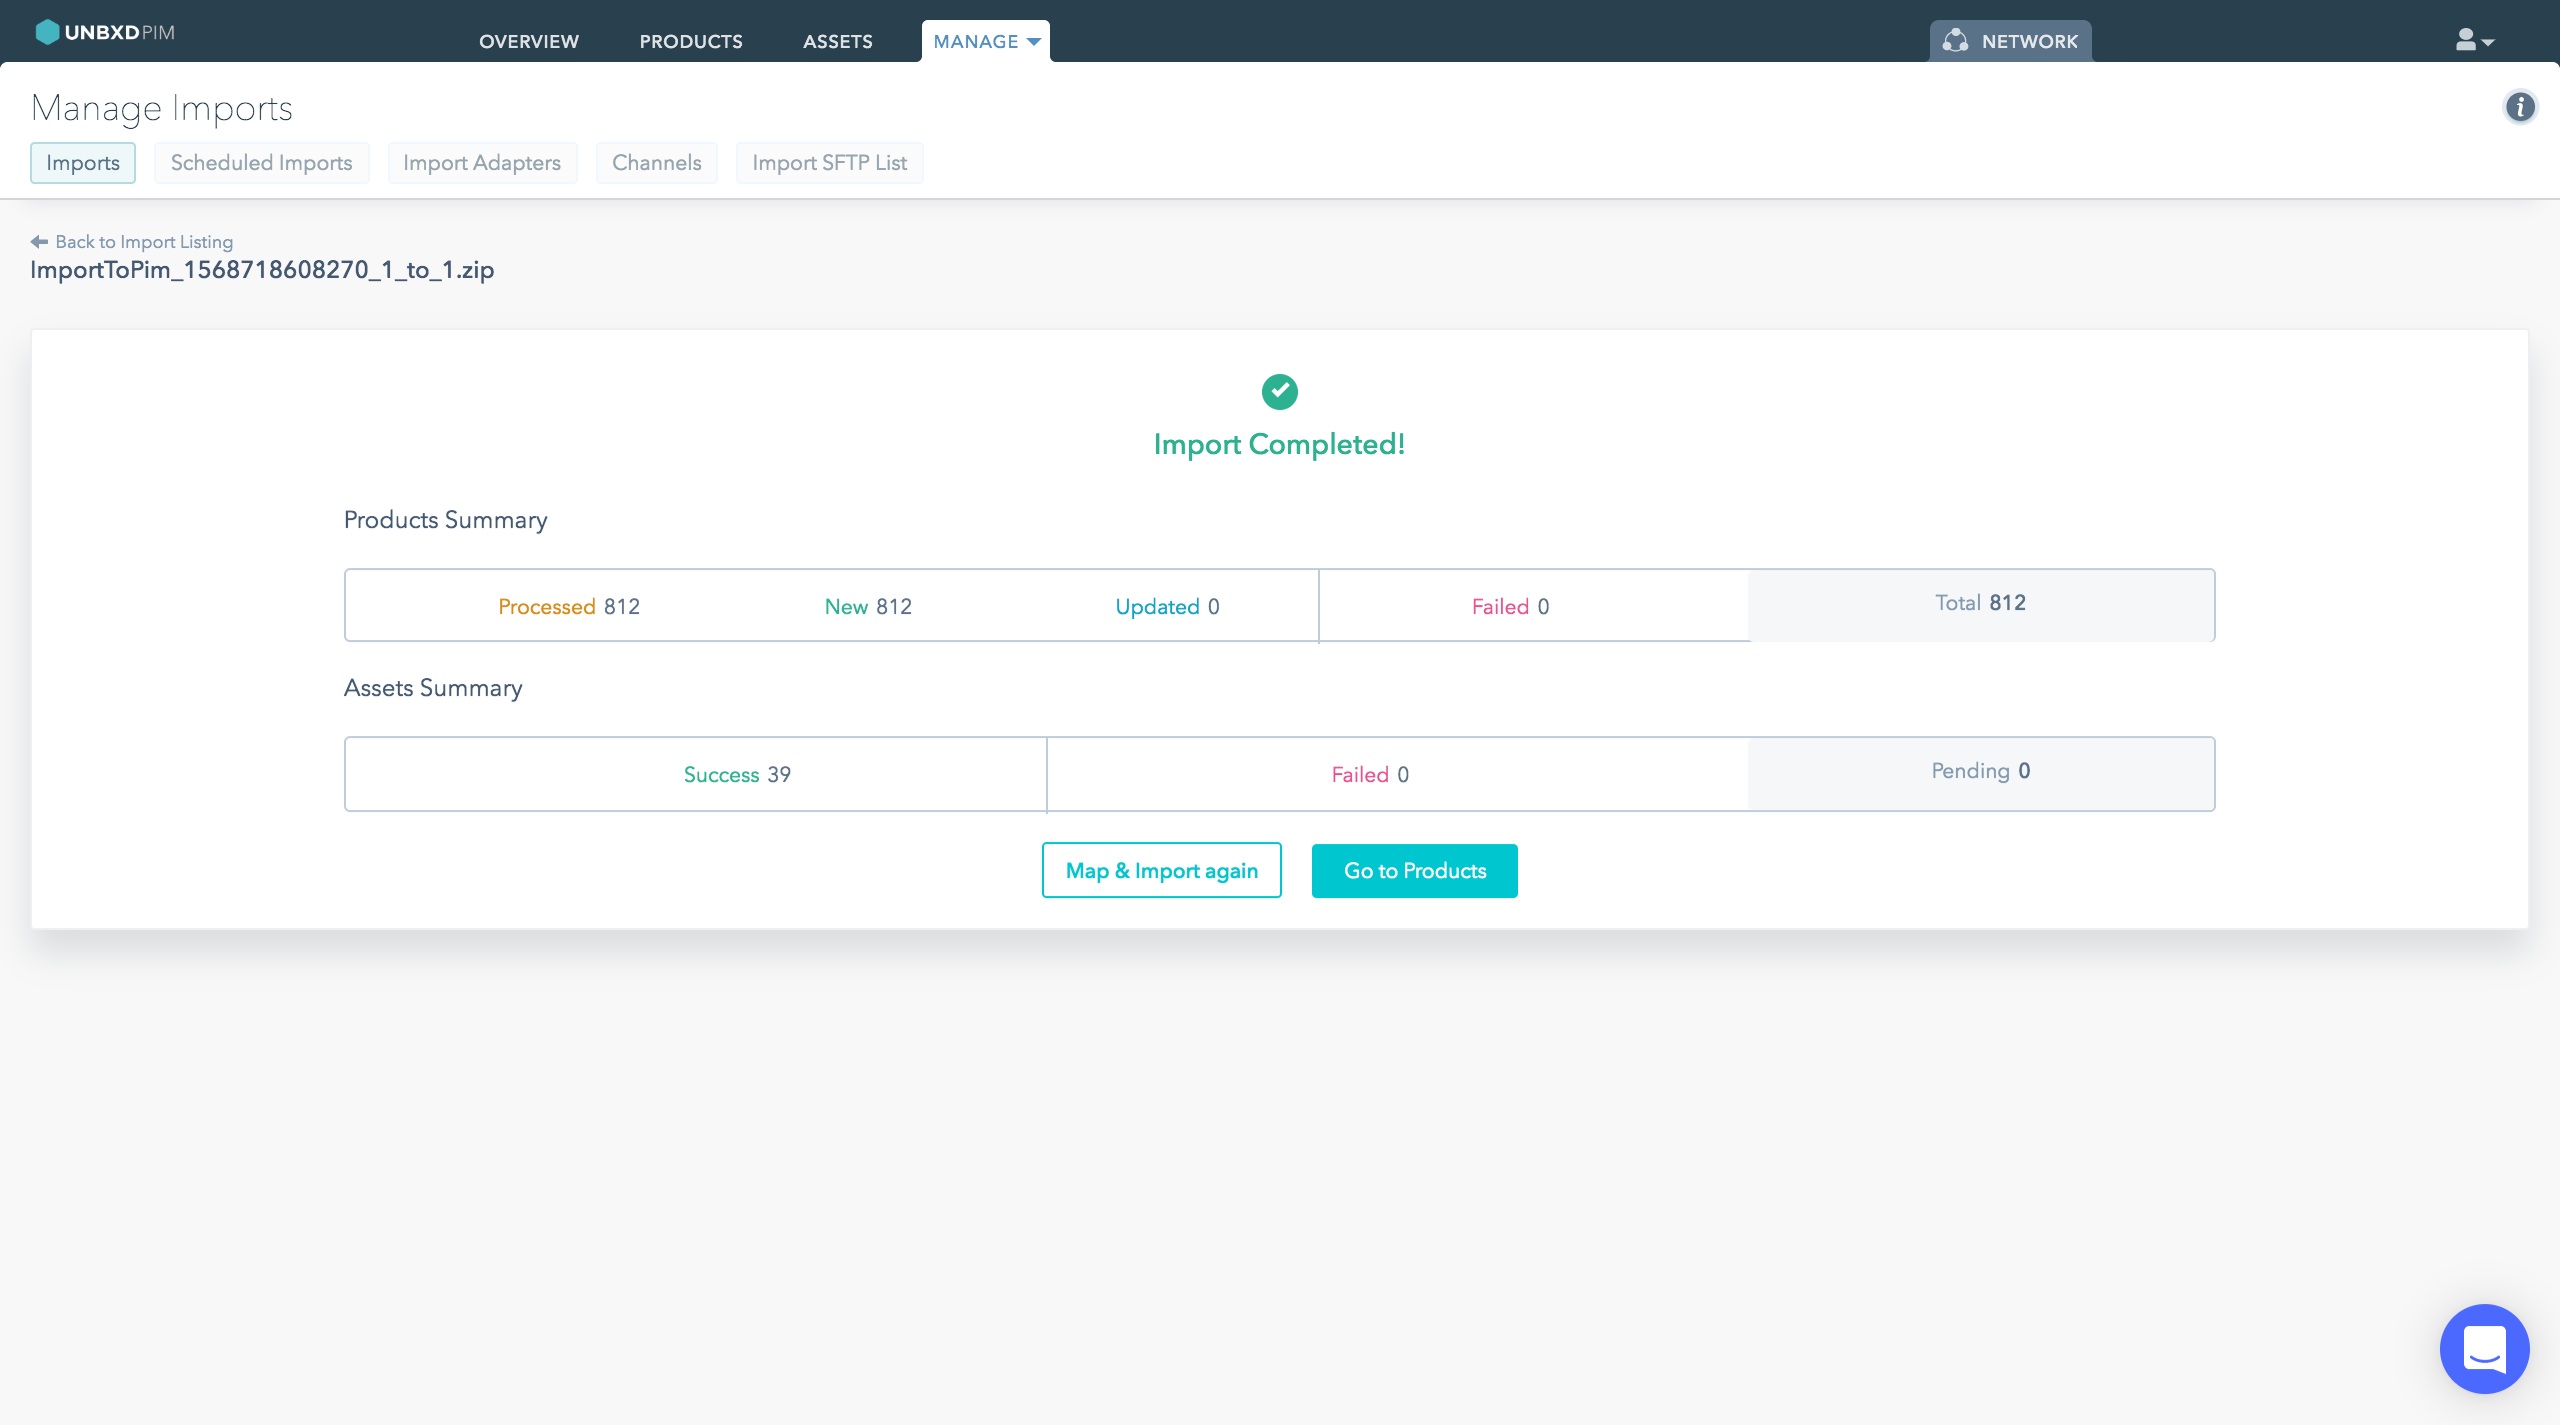
11. Click Go to Products.
Now, the product data is available in Unbxd PIM. You can start performing the following actions:
12. Once the products are updated as per your requirements, you must certify the product to Network. That is, the certified products becomes available in Network for distribution or export. The certified products can be stored individually or can be grouped into product labels.
For more information about certifying products, see Certifying Products for Network.
13. (One-time action) Update the channel adapter configurations. Click the NETWORK tab, and then click Channels.
The BigCommerce app will be available in the Installed section.
14. Click View Mappings.
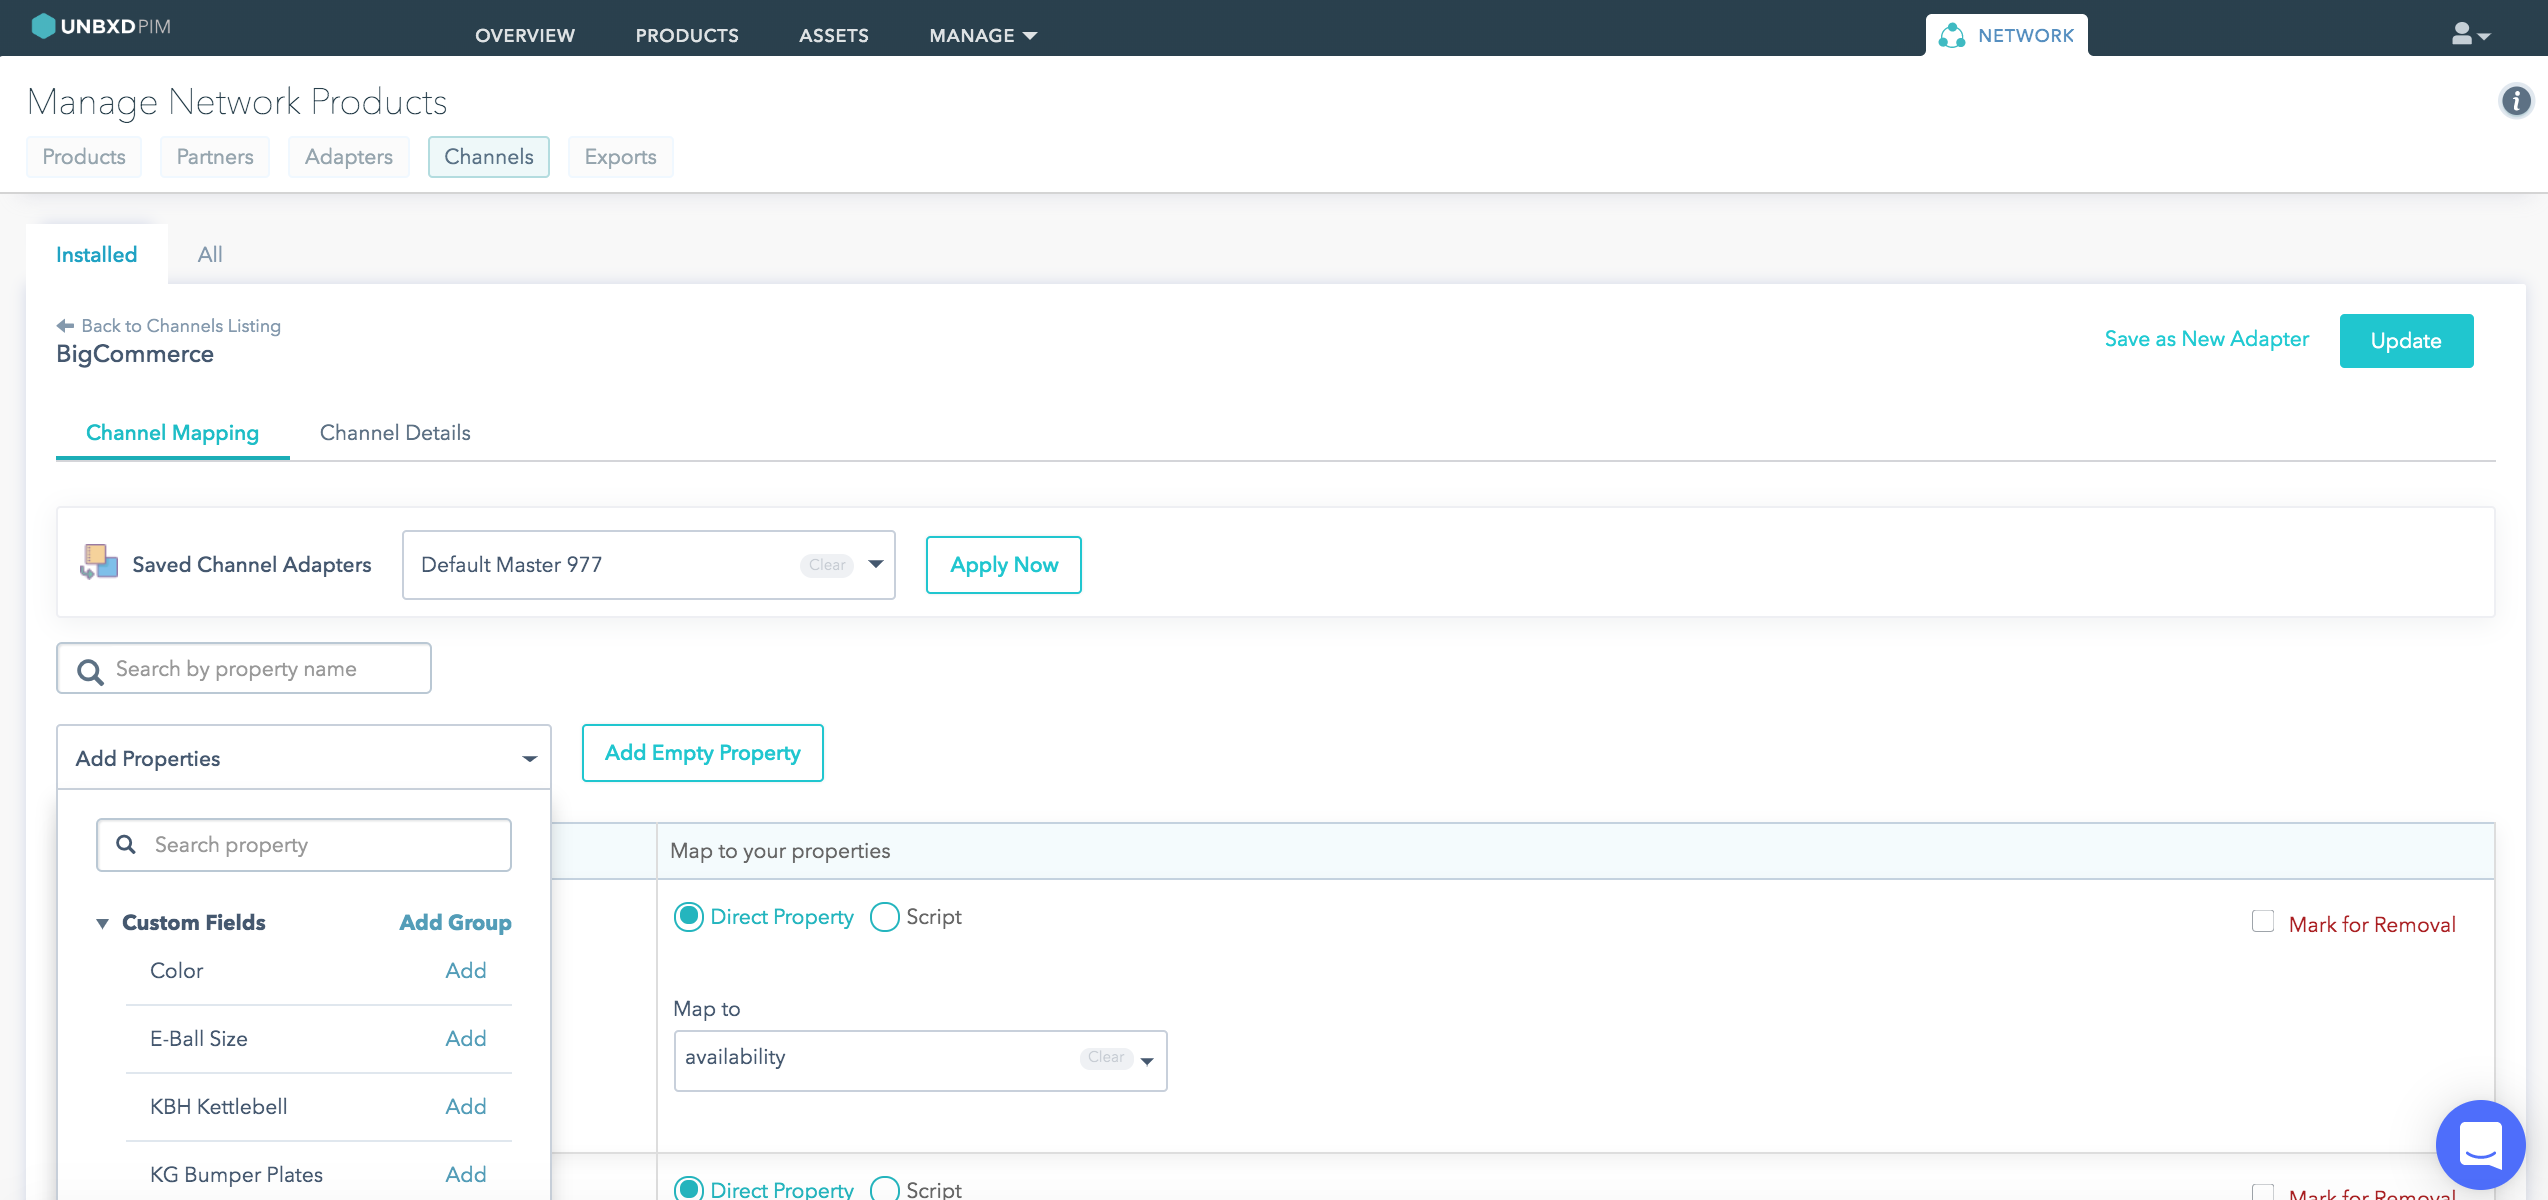
15. In the Add Properties list, add custom field properties, option set properties, and any other newly added properties in PIM (will be added under BigCommerce custom fields). Along with this action, you must verify all the mappings for other properties for seamless and accurate data transfer.
16. Once you are done with the changes, click Update.
This concludes the PIM and BigCommerce mapping and configurations.
Subsequent Data Transfer between Unbxd PIM & BigCommerce
Import
Getting Data from BigCommerce Platform
1. Click the Send Data to PIM tab, and then click Start Transfer.
Getting Data within Unbxd PIM from BigCommerce
1. Click the MANAGE tab, and then click Imports.
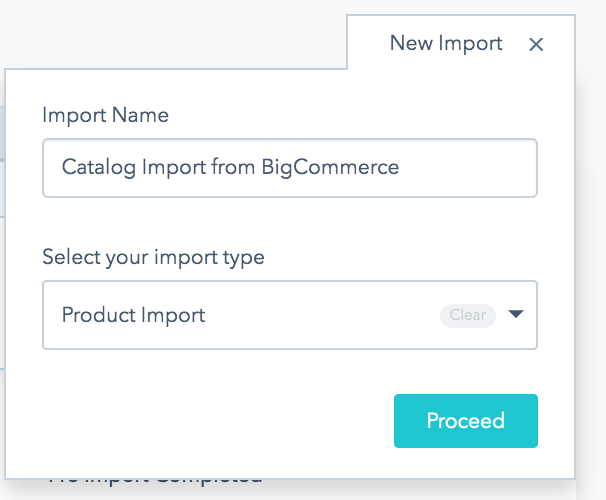
2. Click New Import.
3. Click Fetch from Channel.
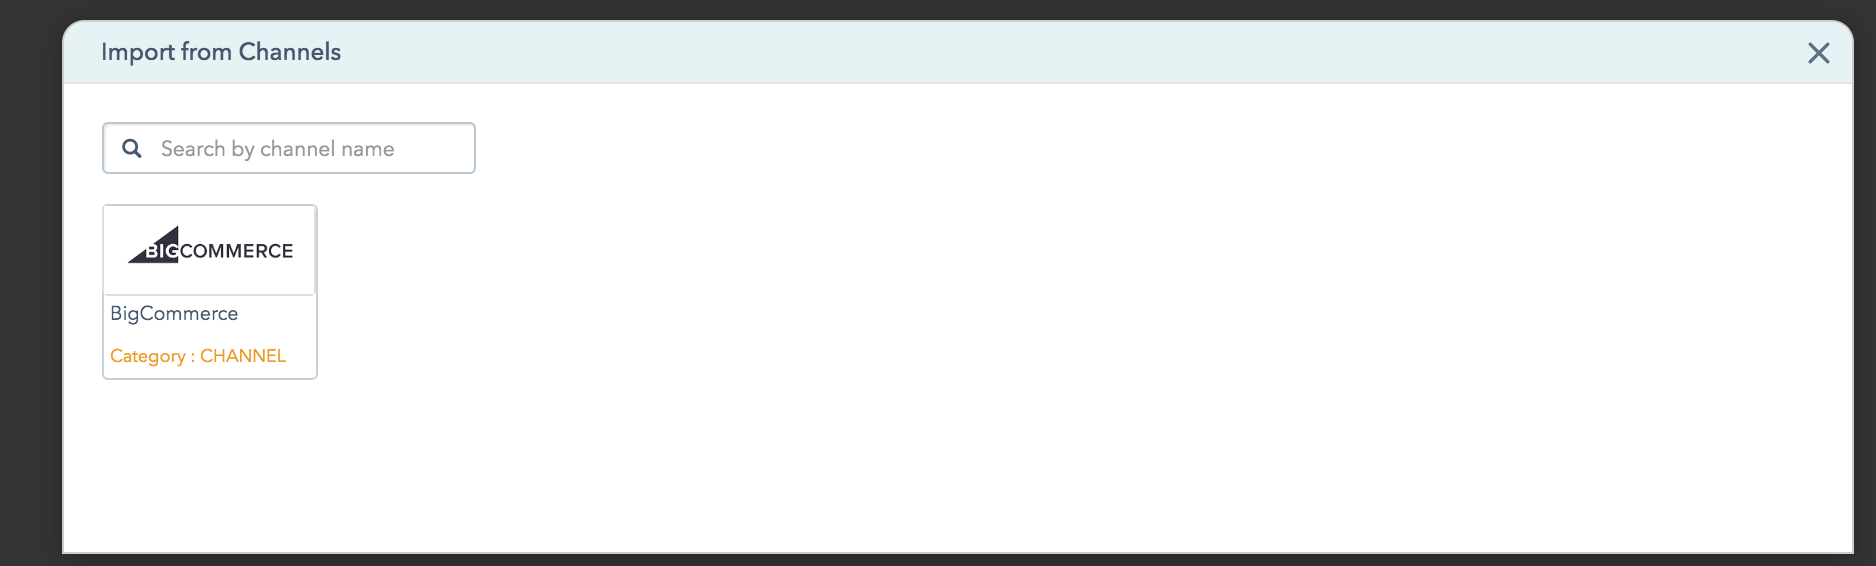 4. Select the BigCommerce channel.
Once the import is ready, you will see the details in the Imports Listing page. From thereon, you can continue PIM import processes using saved import adapter, which was created during the first time transfer.
Export
Getting Data into BigCommerce Platform
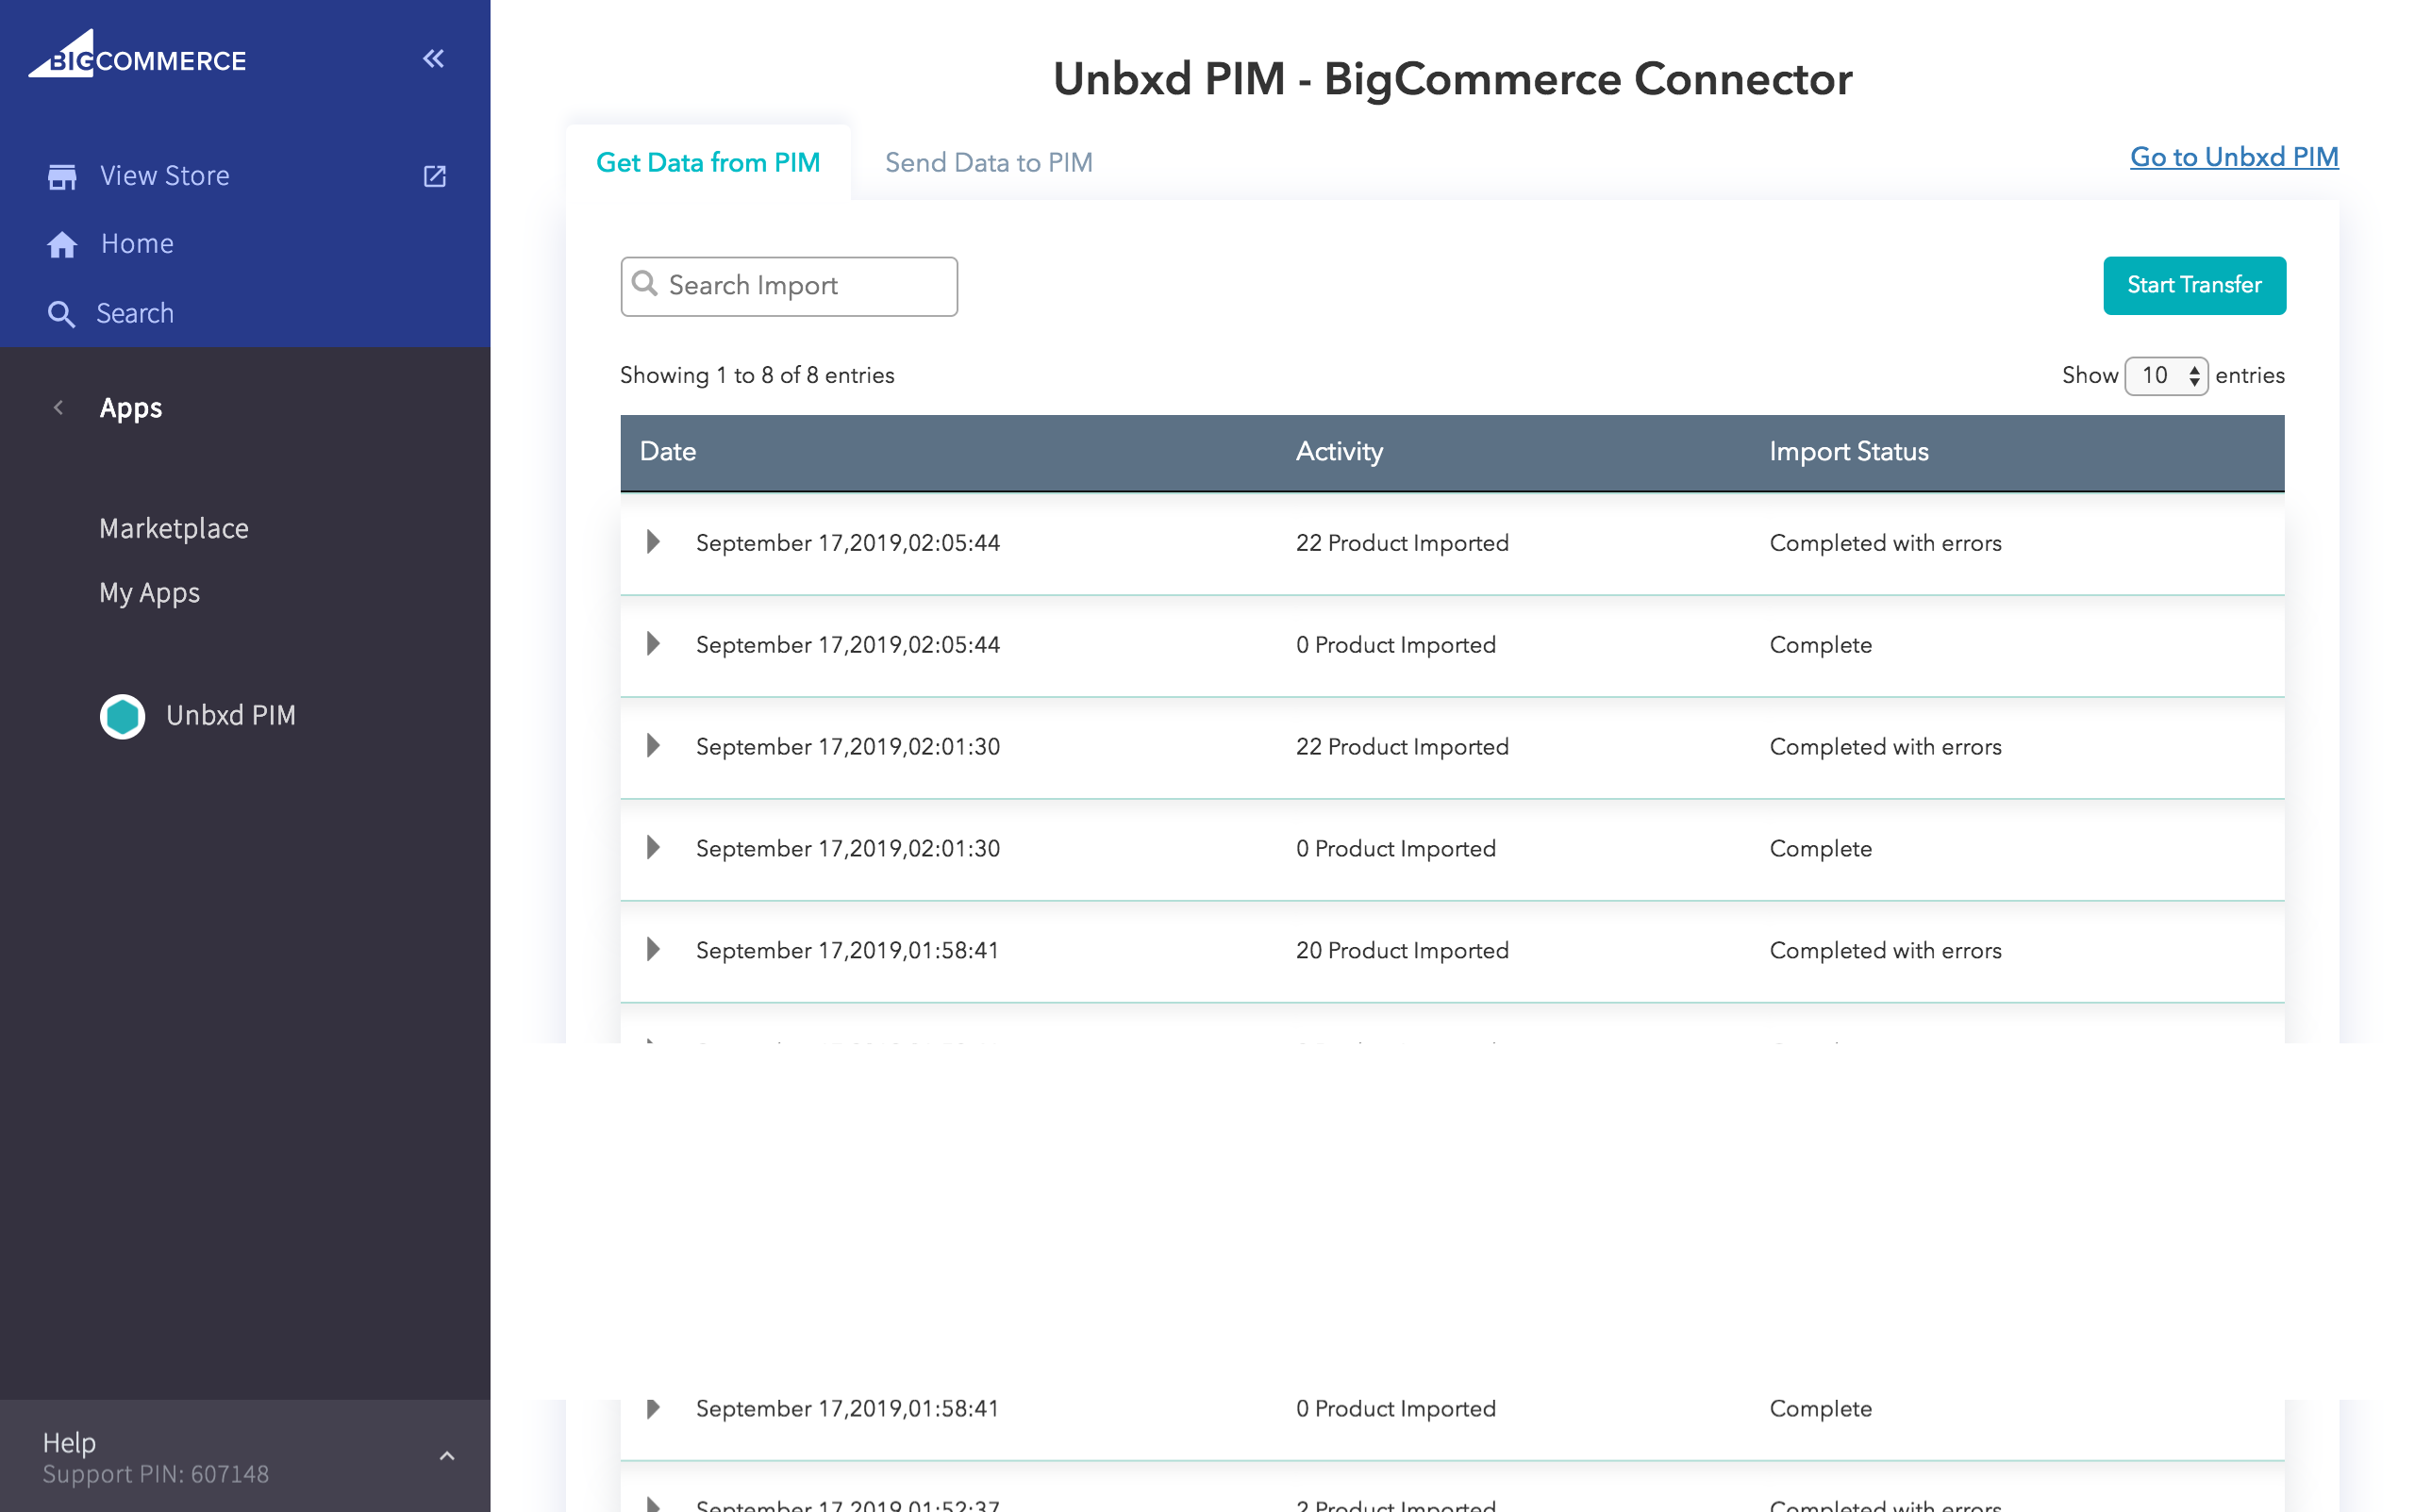 1. Click the Get Data from PIM tab, and then click Start Transfer.
Note: This will retrieve all the data from Unbxd PIM.
Sending Data from Unbxd PIM to BigCommerce
Note: If you want to retrieve a specific set of certified products from Unbxd PIM, you can use the advanced filters (NETWORK tab) in the product listing or use the product labels for export.
1. Click the NETWORK tab.
2. Select the products you want to export.
3. On the Actions menu, click Export Products.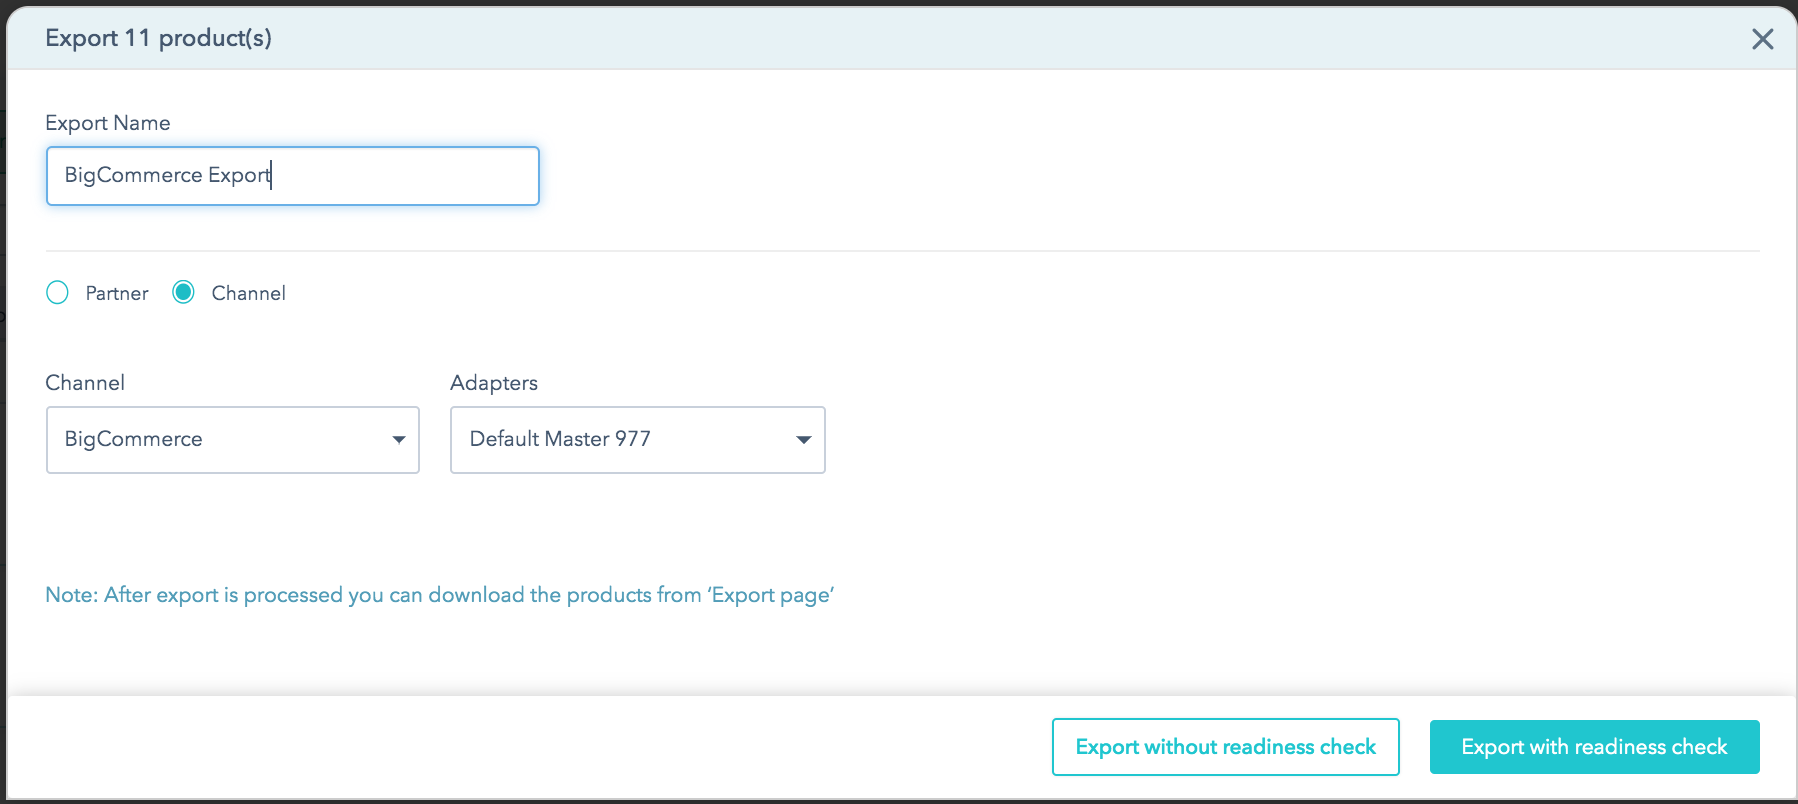
4. Click Channel.
5. In the Channel list, select BigCommerce.
6. Select the adapter.
7. Click Export without readiness check.